Michaelle Edwards
"Anityasuciduhkhanatmasu nityasucisukhatmakhyatiravidya" (What at one time feels good or appears to be of help can turn out to be a problem; what we consider to be useful may in time prove to be harmful.) -- From Patanjali's Yoga Sutras, written in Sanskrit approximately 2,400 years ago.
As a 40-year yoga practitioner, with over two decades practicing massage therapy and teaching yoga, I have seen countless injuries, chronic pain and joint issues in yoga clients of every age and fitness level. My work and investigations with yoga injuries has revealed certain yoga poses engage the body in positions that are unnatural for the design of the human body. In this series of posts, I will explain why these poses need to be radically modified or eliminated to protect yoga practitioners from finding out that which was considered to be useful may in time prove to be harmful.
The sad truth is that years of practicing body positions that do not simulate real life function can lead to misalignment, chronic pain, and even surgical replacements.
To be smart and safe in yoga, we need to consider postural alignment and natural joint function, rather than blindly following a list of "must-do" traditional poses and boot camp challenges.
Yoga Can Heal and Yoga Can Hurt
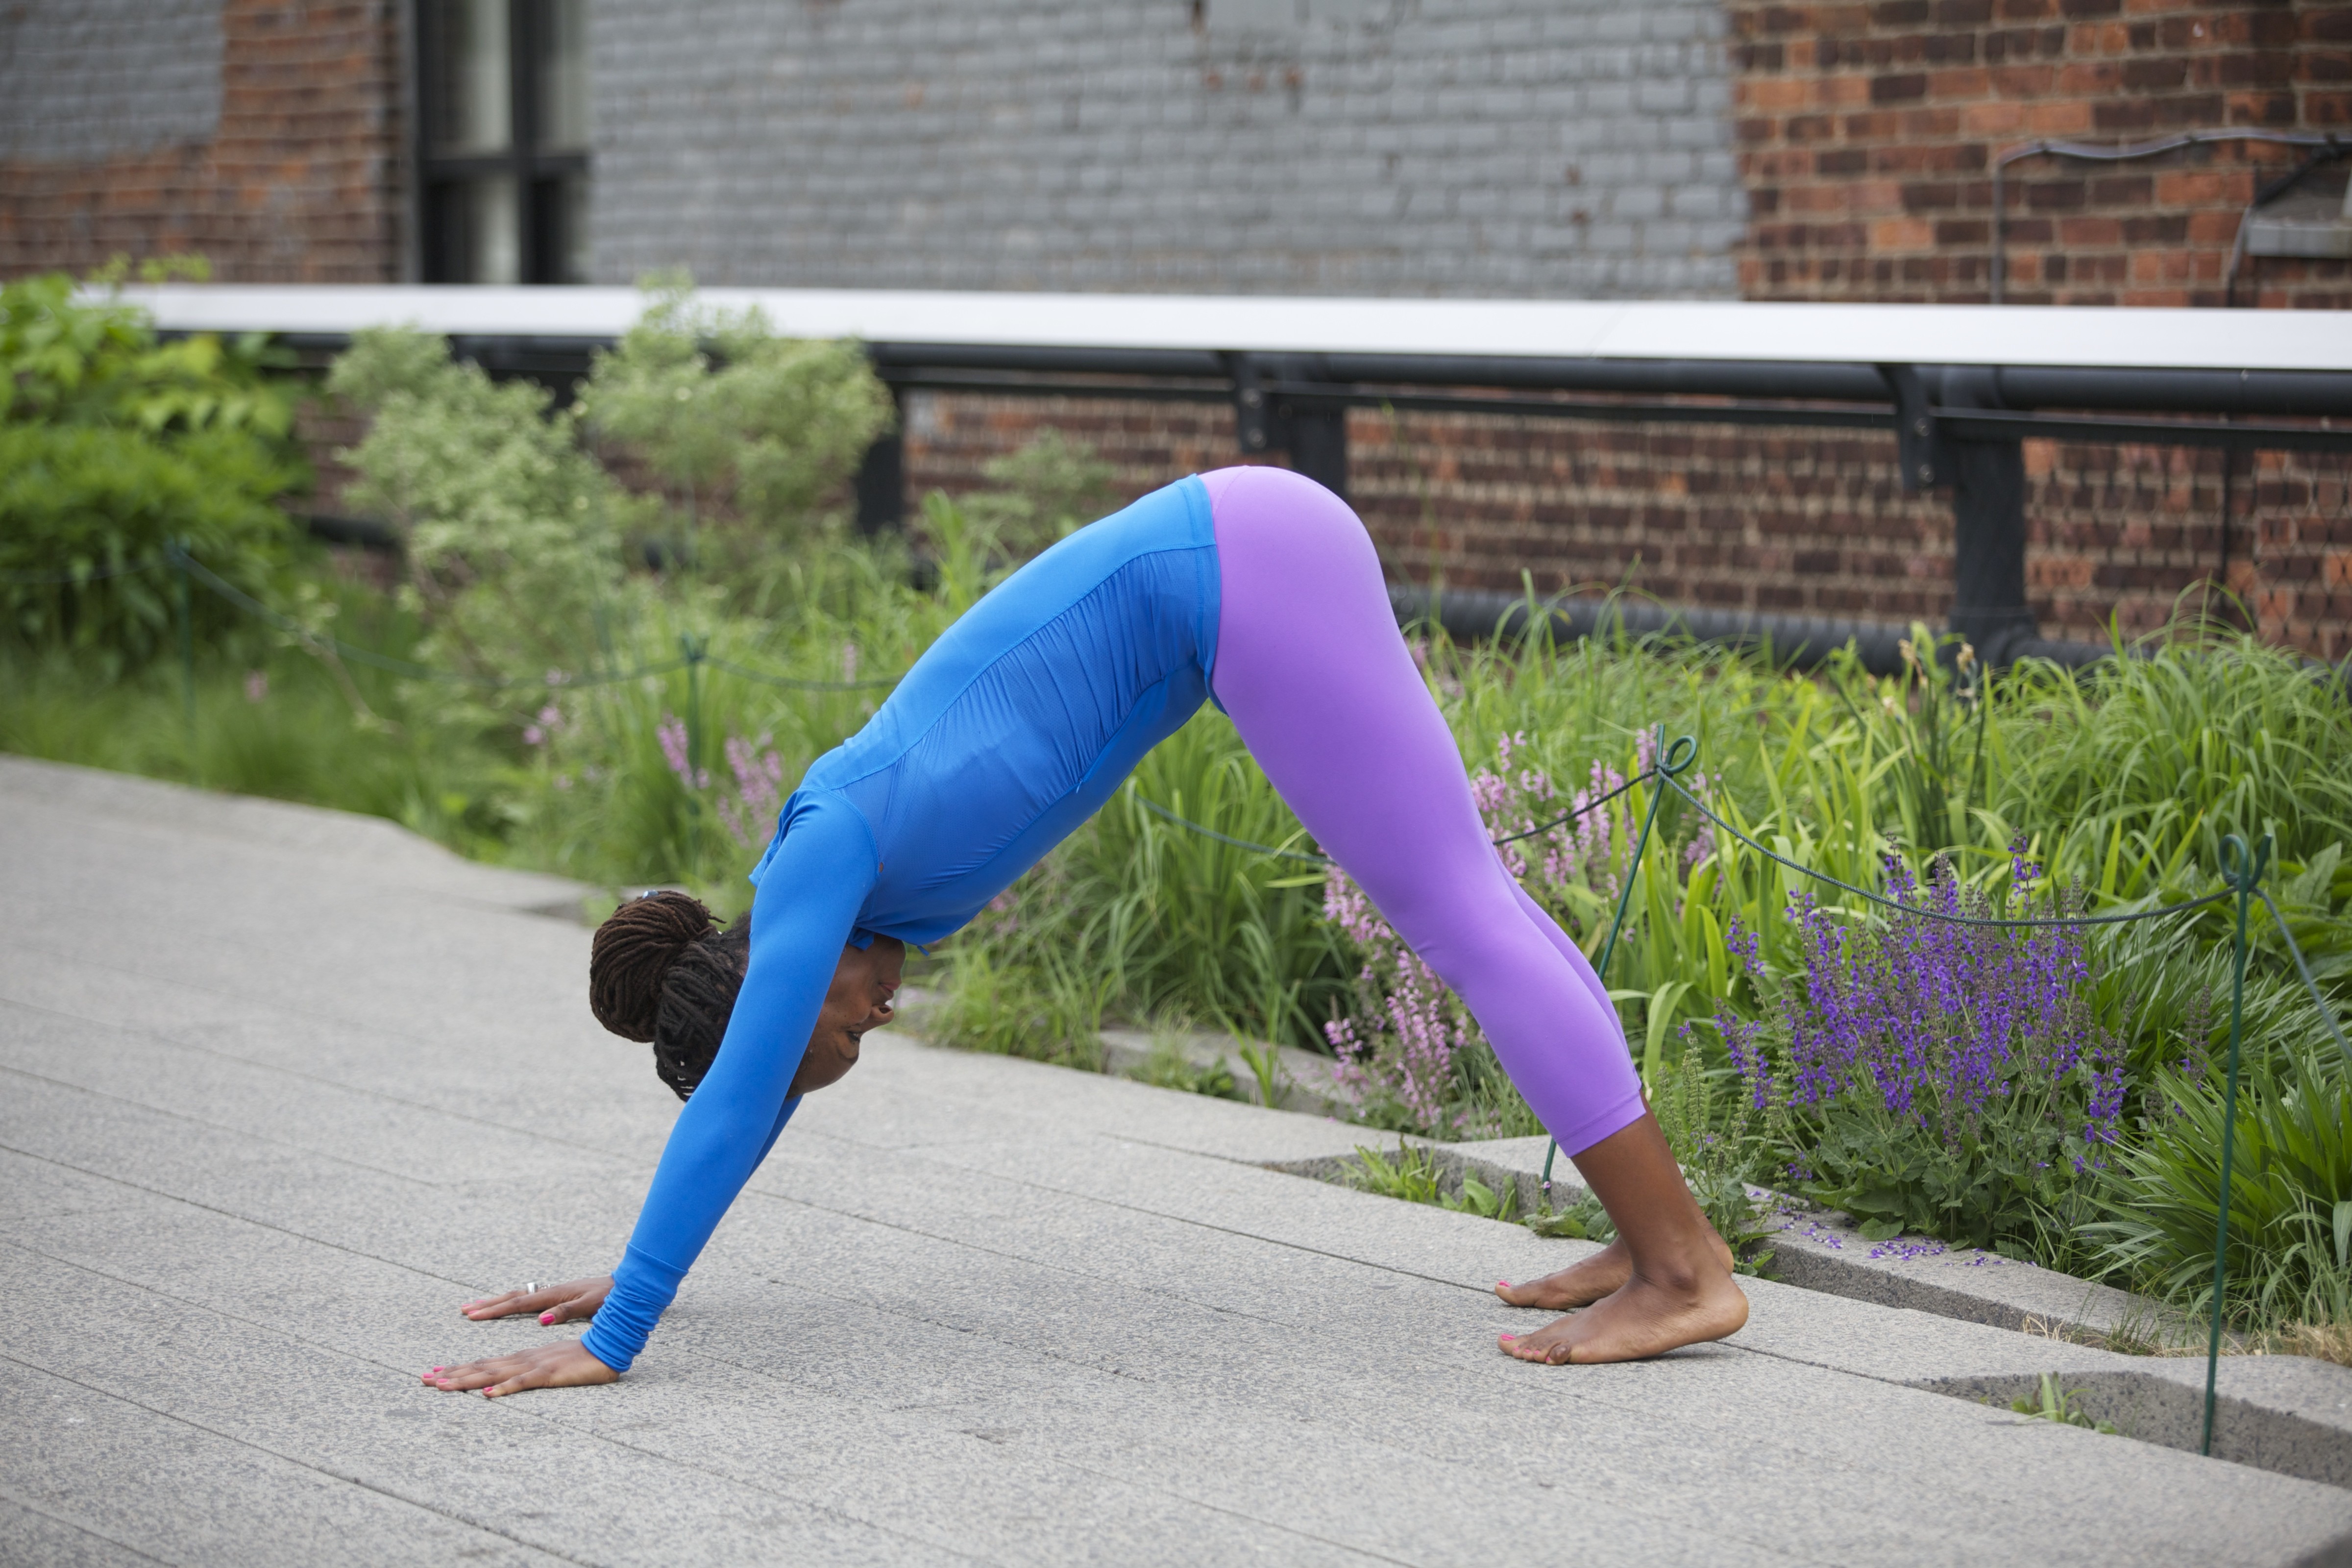
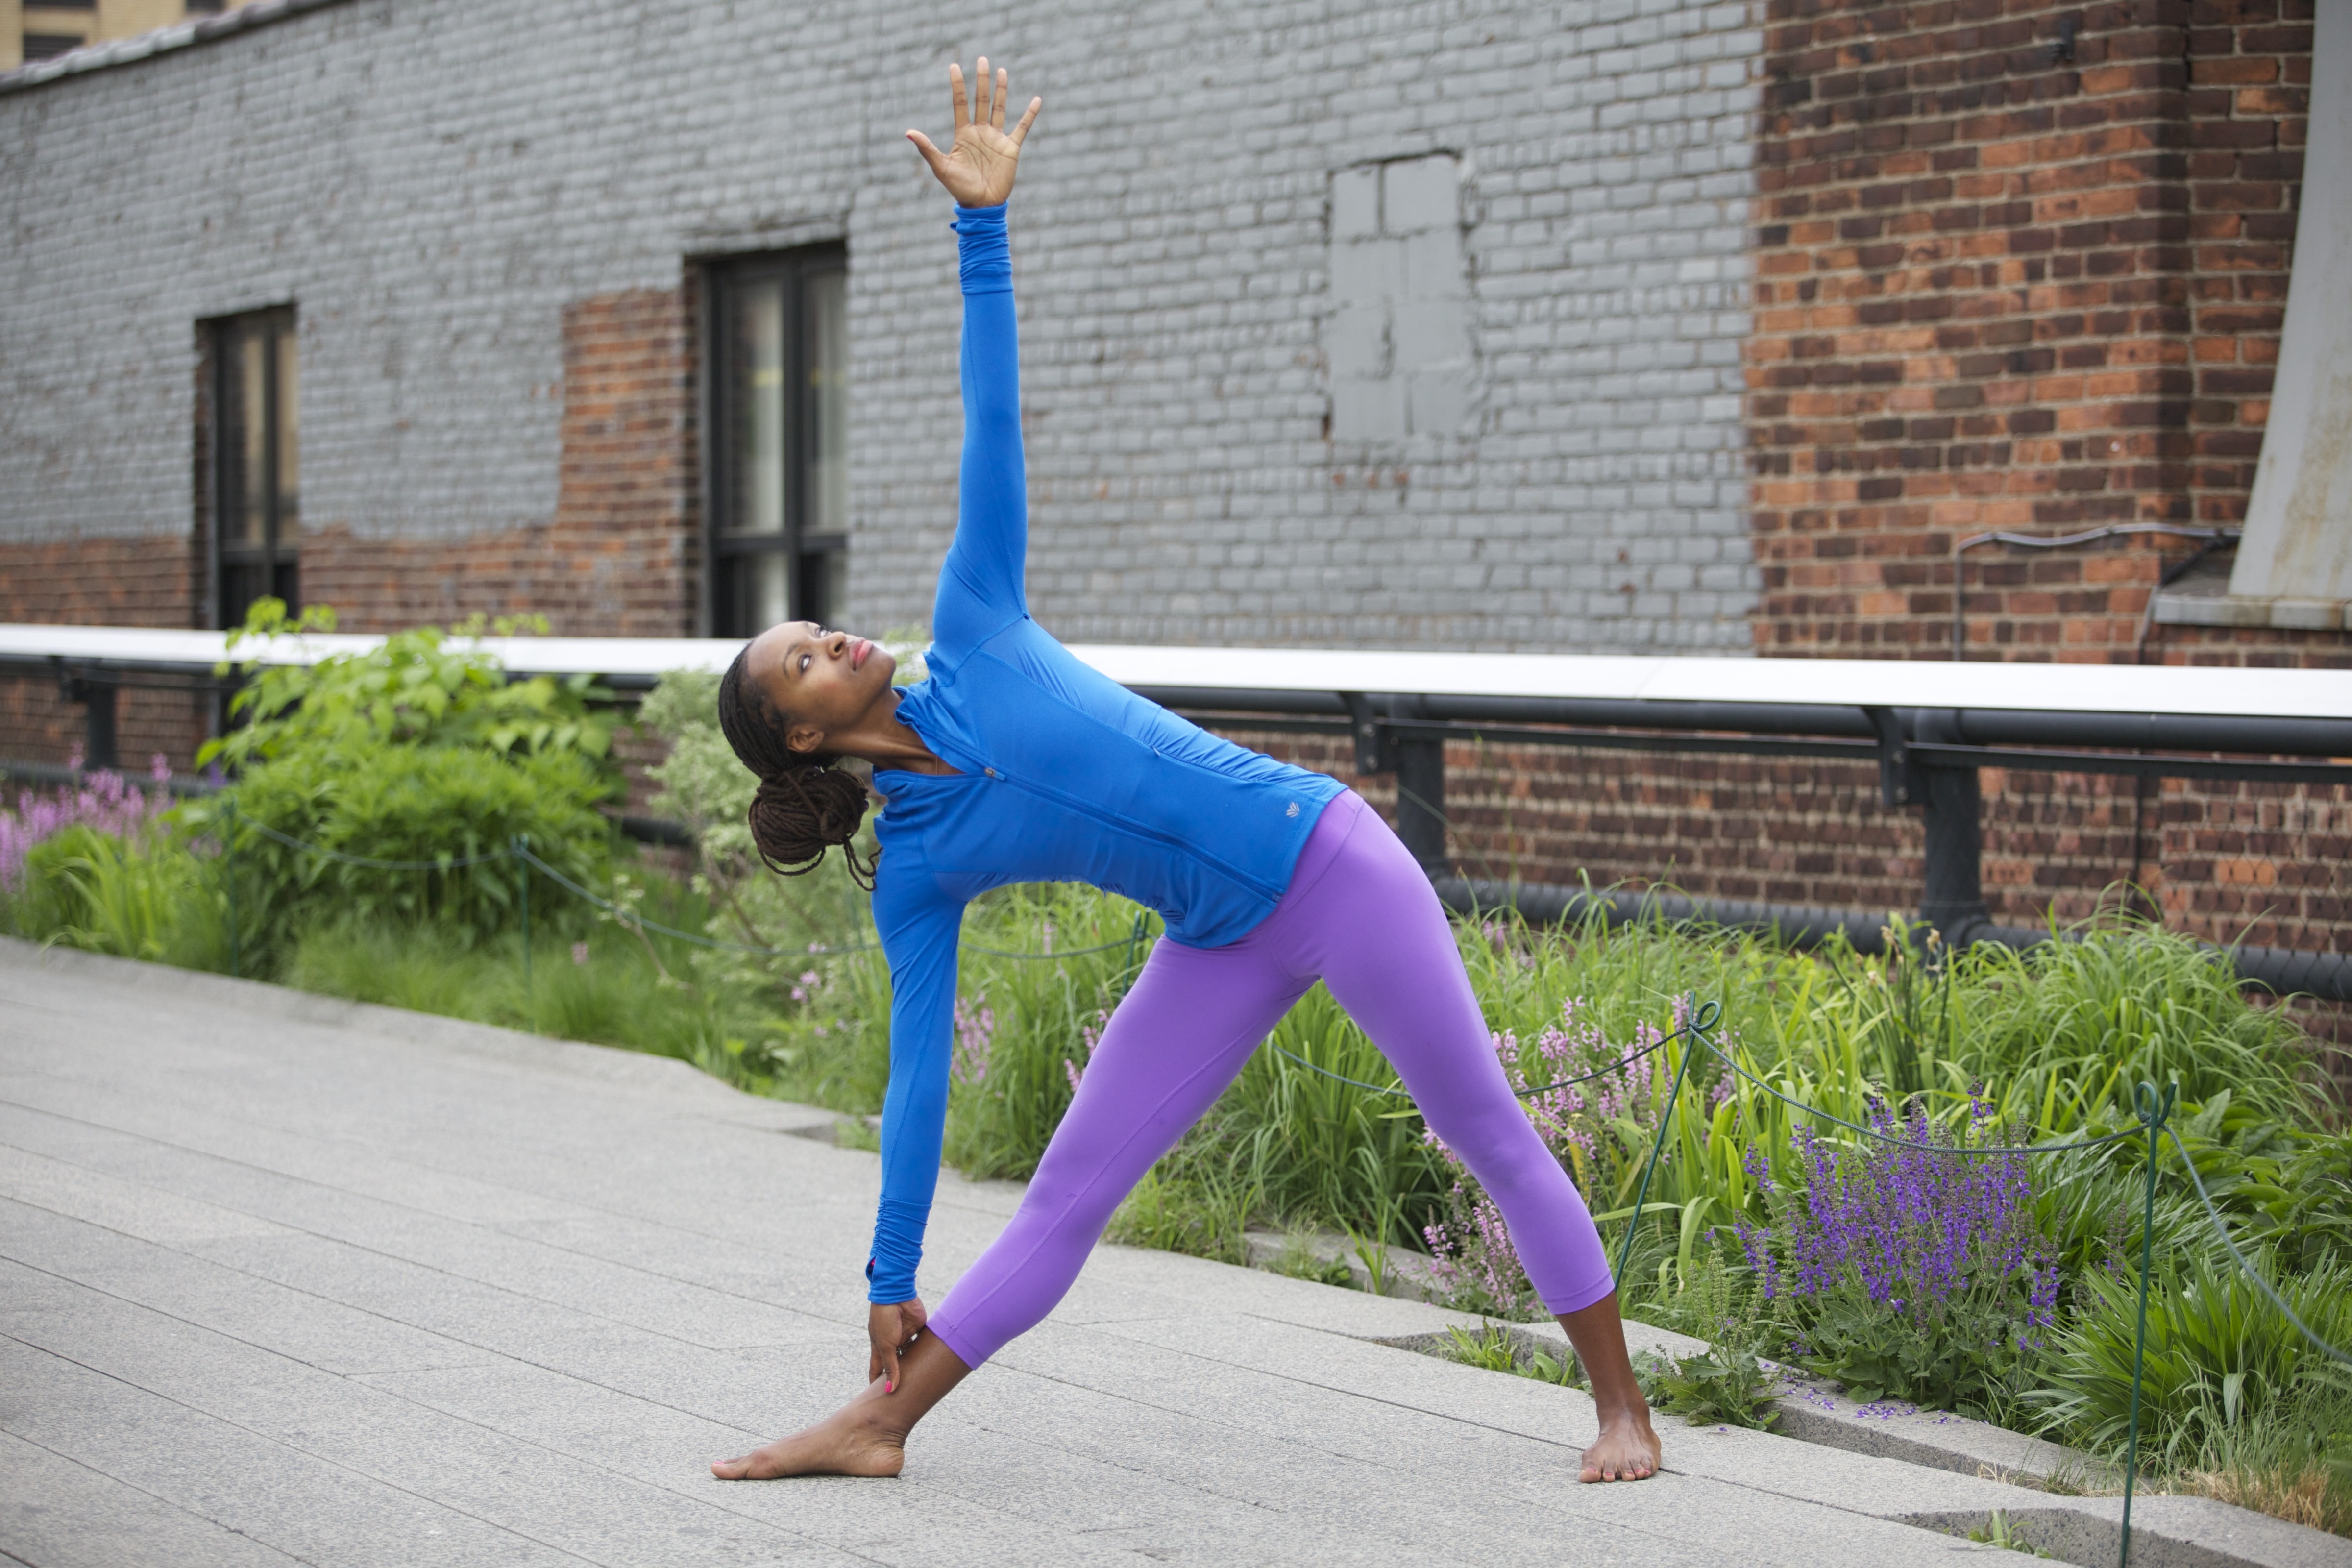
Paschimottasana and Uttanasana are straight leg seated forward bending poses practiced from sitting or standing that go against how our body is "wired" to move. These poses and many variations are practiced with the compartmentalized idea that stretching the back while keeping the knees straight will lengthen the hamstrings and make the spinal column more flexible. But how does this contribute to real life anatomical function and a balance of postural dynamics?
Stop driving with your parking brakes on.
We must bend at least one knee to move forward. When both knees are straightened and we stretch forward as in yoga forward bends, we are driving with our brakes on and stretching the ligament forces needed for natural anatomical function. Try to walk without bending your knees and you will get the global picture of how your body works. Can you feel the unnatural torque and tension in the lower back and knees?
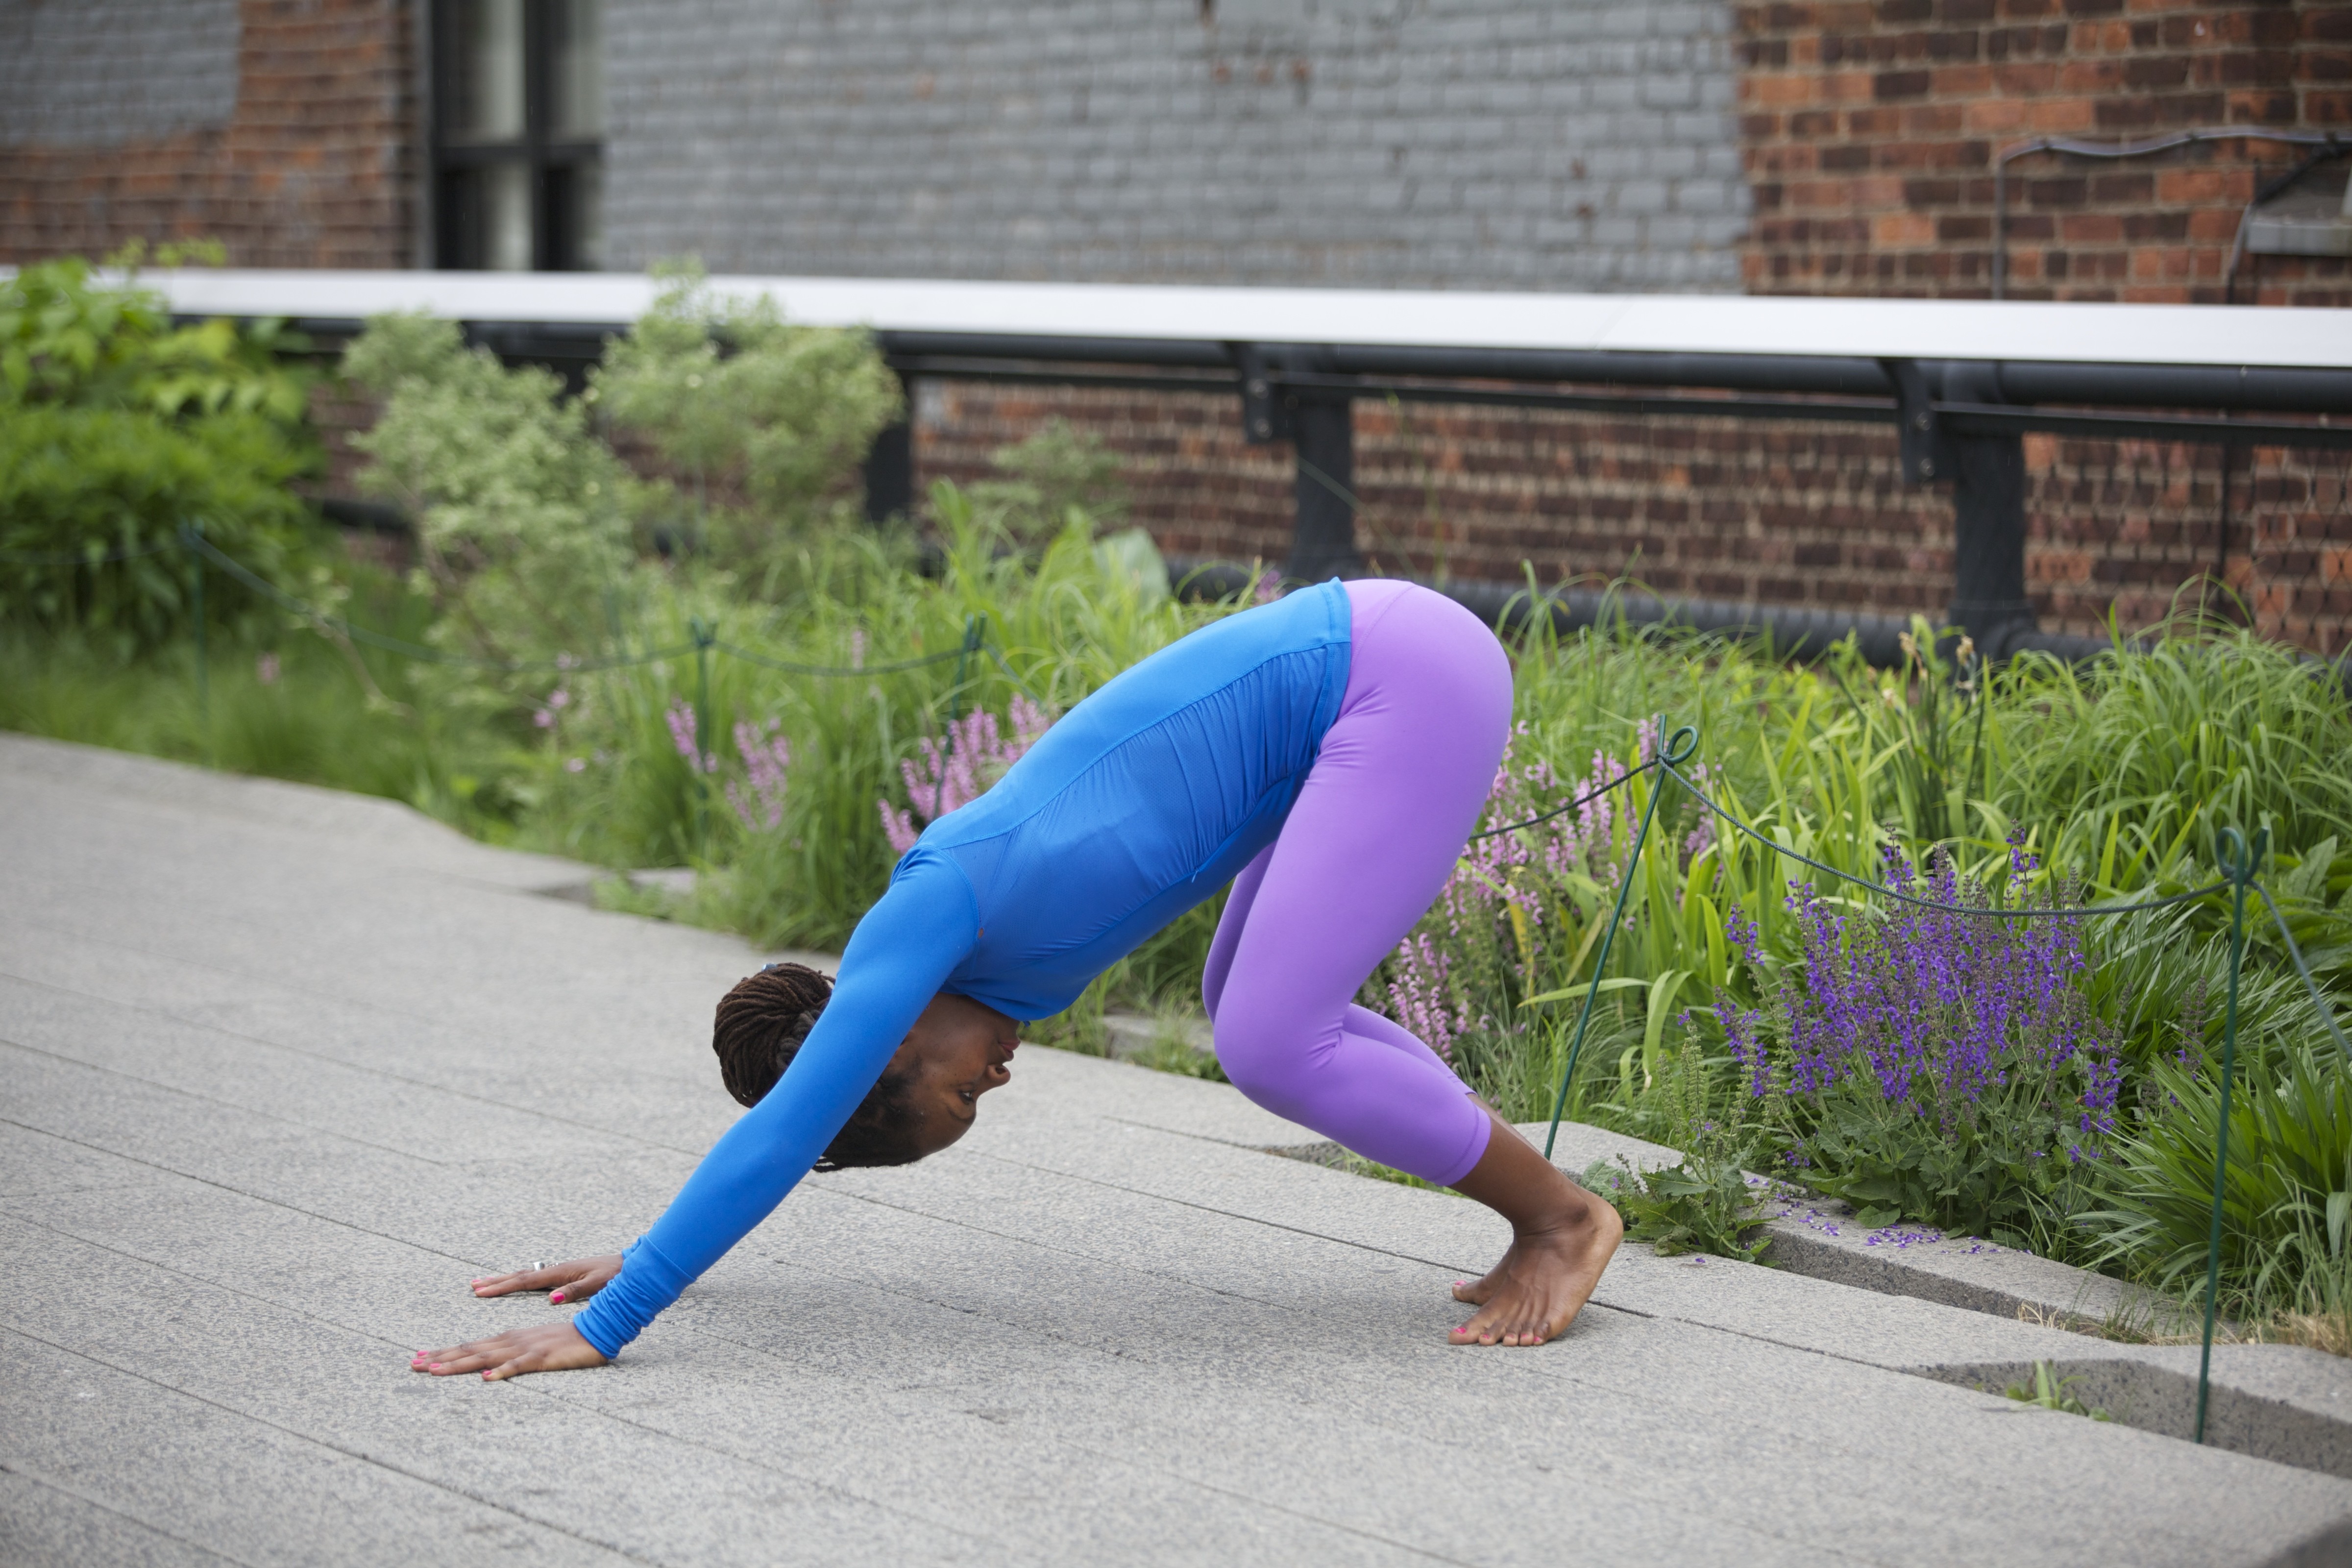
Touching your toes is a waste of time and could prove to be harmful in the long run.
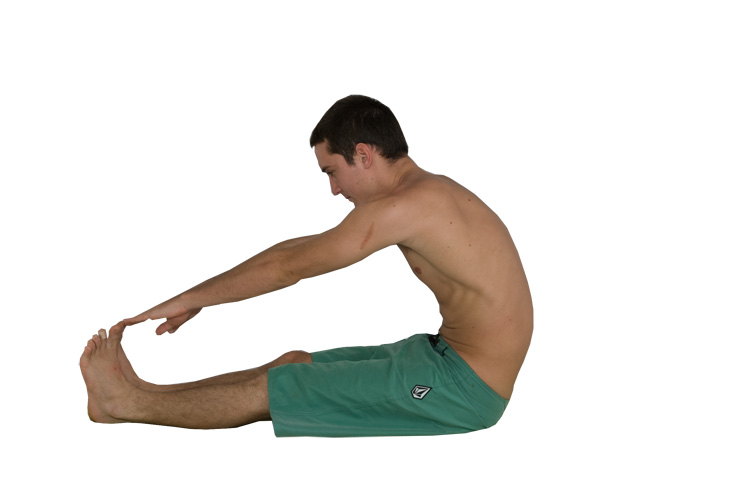
All standing and seated forward bends with knees straight and ankles flexed in right angles undermine the spine's integrity creating the C shape, or slouch, stressing the necessary ligament tension needed for natural joint functions of our spine, hips and knees.
Keep your sexy curves by not engaging your body in straight lines!
We are not made of parts. Our body is made of curves, global in nature, and all parts affect the whole. We all want to be healthy and feel peaceful in body and mind. What is the purpose and function of doing yoga poses that flatten the curves, and stretch out the very seams of the fabric that holds us together?
Forward bends with straight knees can give you a flat butt!

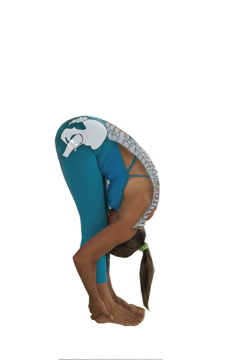
Before and After YogAlign Practice
Many yogis wind up with a flat butt and sagging posture from ligaments that are too loose. Ligaments need to be "tight" enough to keep the hip joint stable during normal activity and movement.
The gluteus muscles are stretched out and weakened when we do straight leg forward bends because the butt muscles cannot functionally activate if both knees are straight. This is why people with strong tight butts have difficulty doing forward bends with their knees straight.
The flexible and bendy people have no trouble doing these poses and it can even feel "good," but over the long run, this flexibility becomes a liability. The sacroiliac (SI) joint ligaments become lax and the hip joint is destabilized, lacking shock absorbing forces needed to protect joint function. Many famous yoga teachers and long time practitioners are getting hip and knee replacements as a result of over-stretching the SI joint as practiced in straight leg seated and standing forward bends.
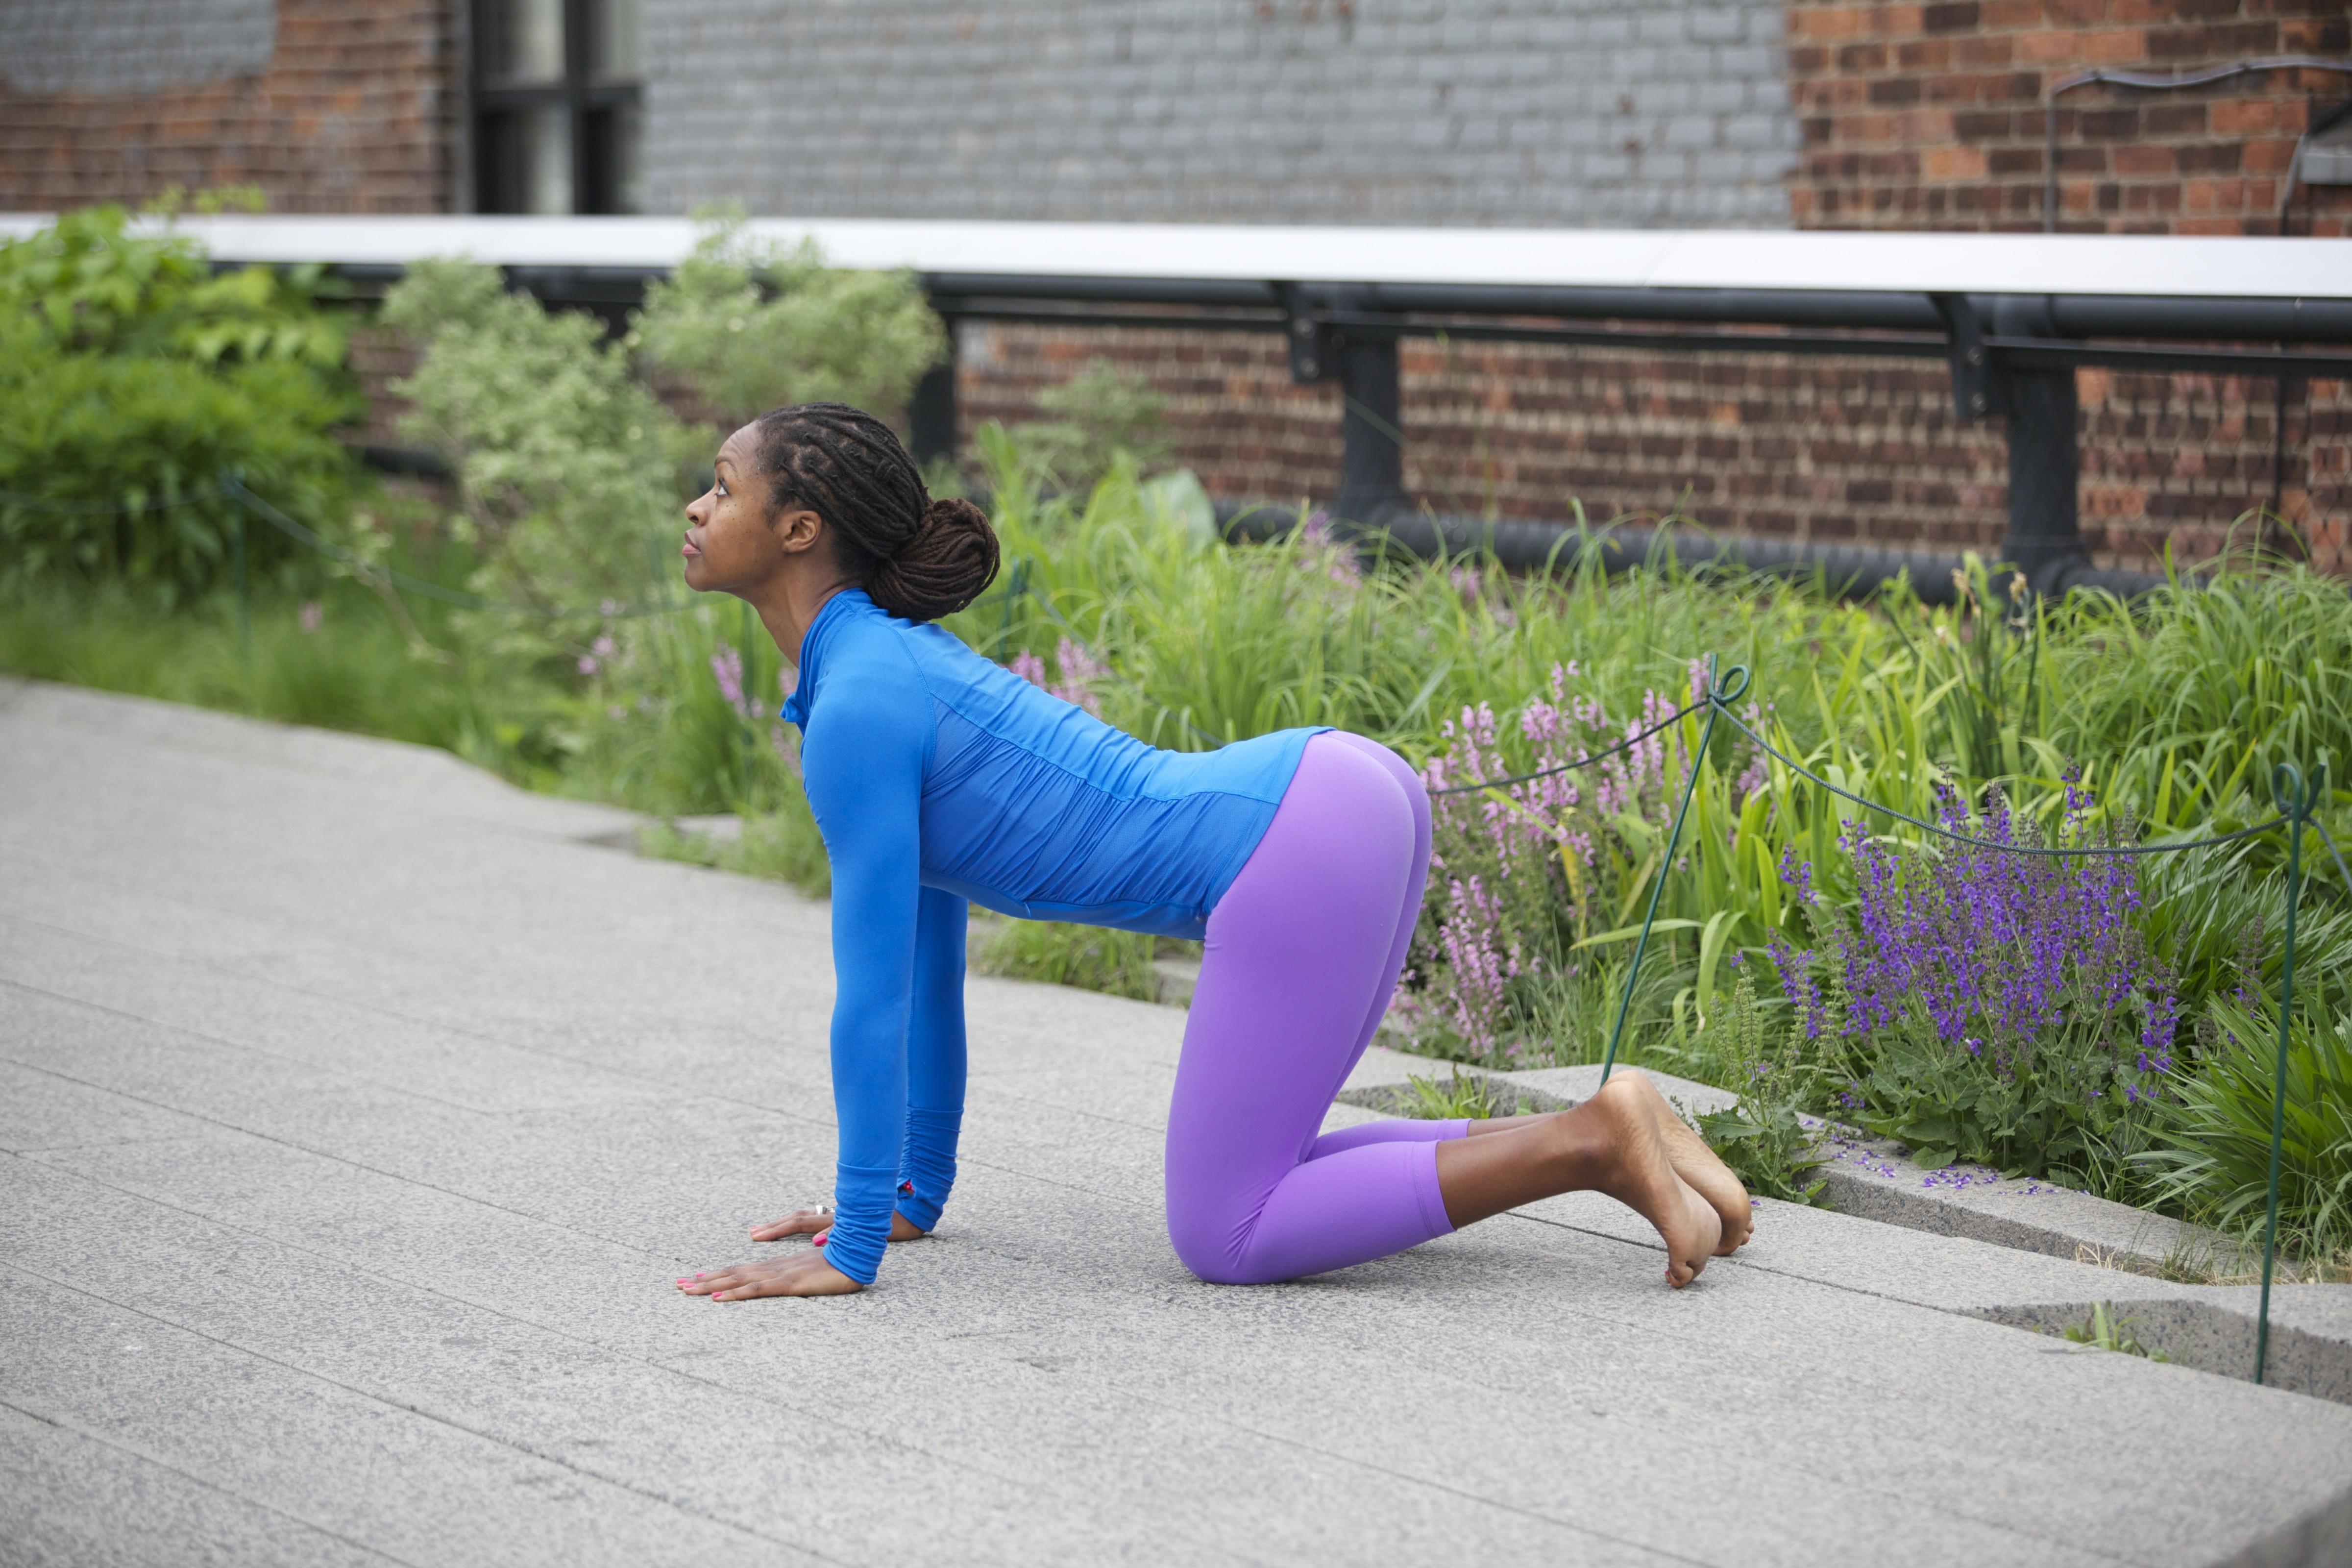
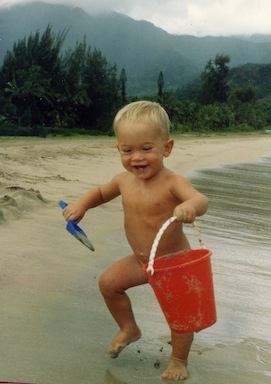
Babies know best.
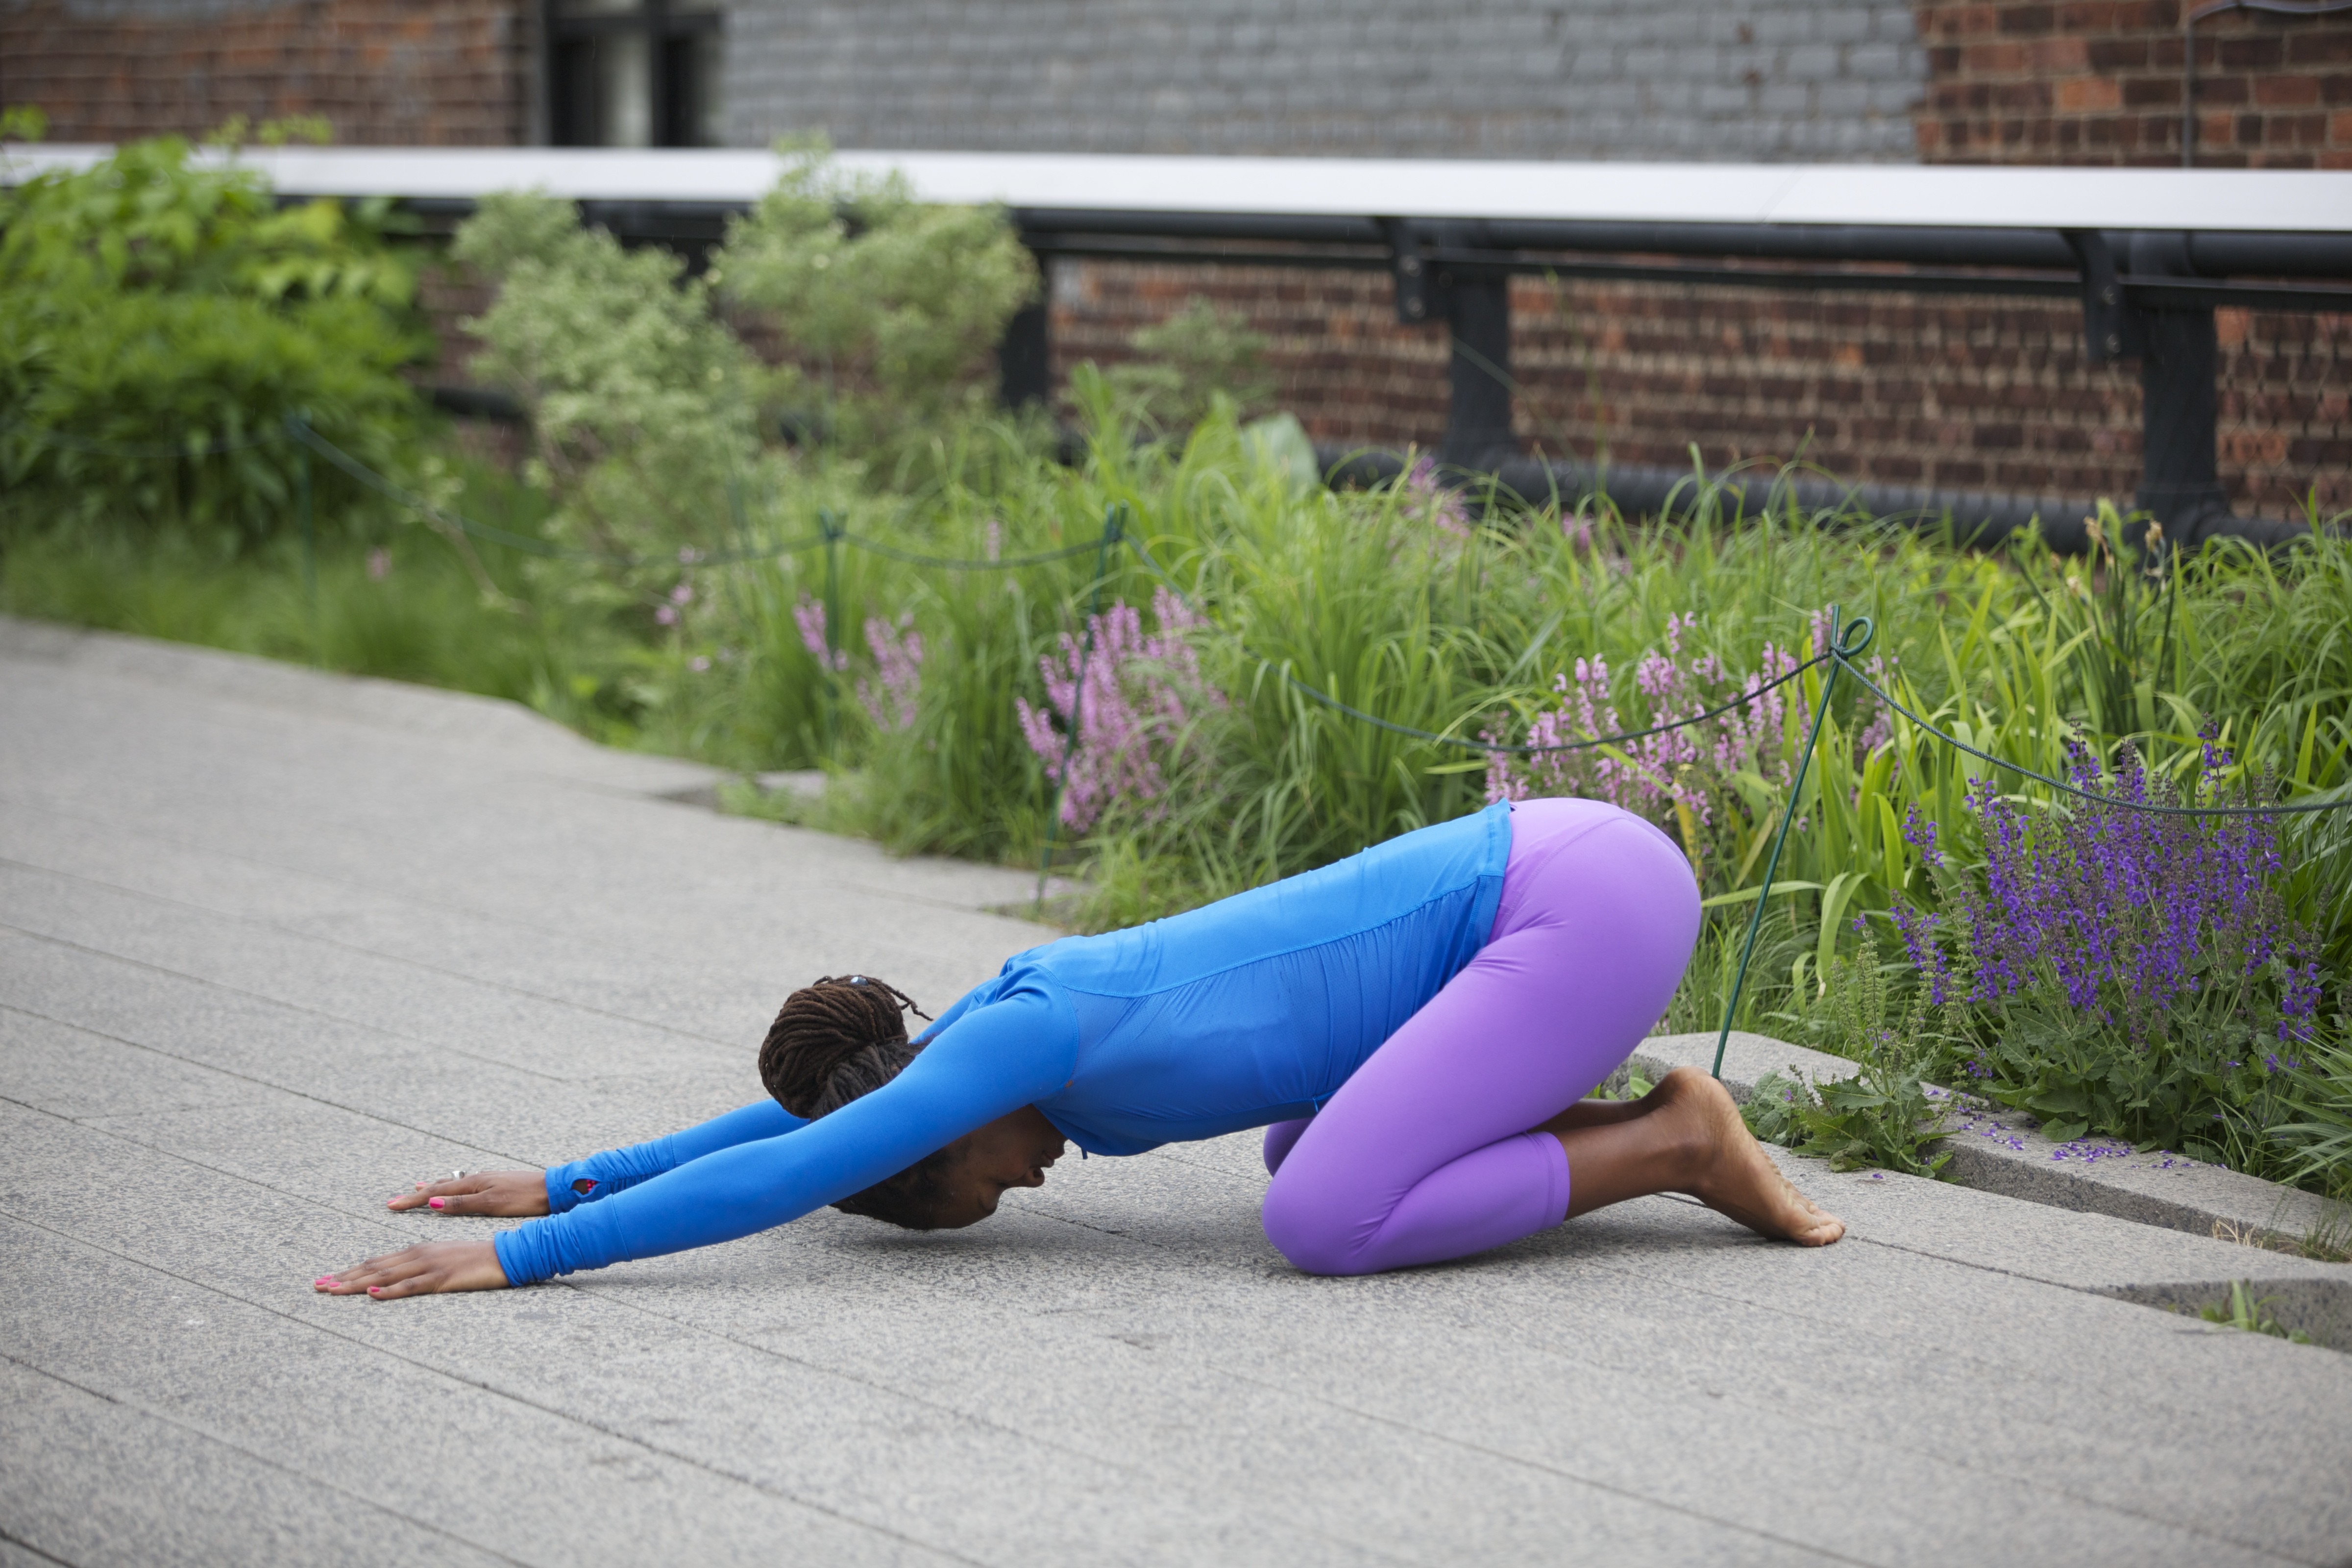
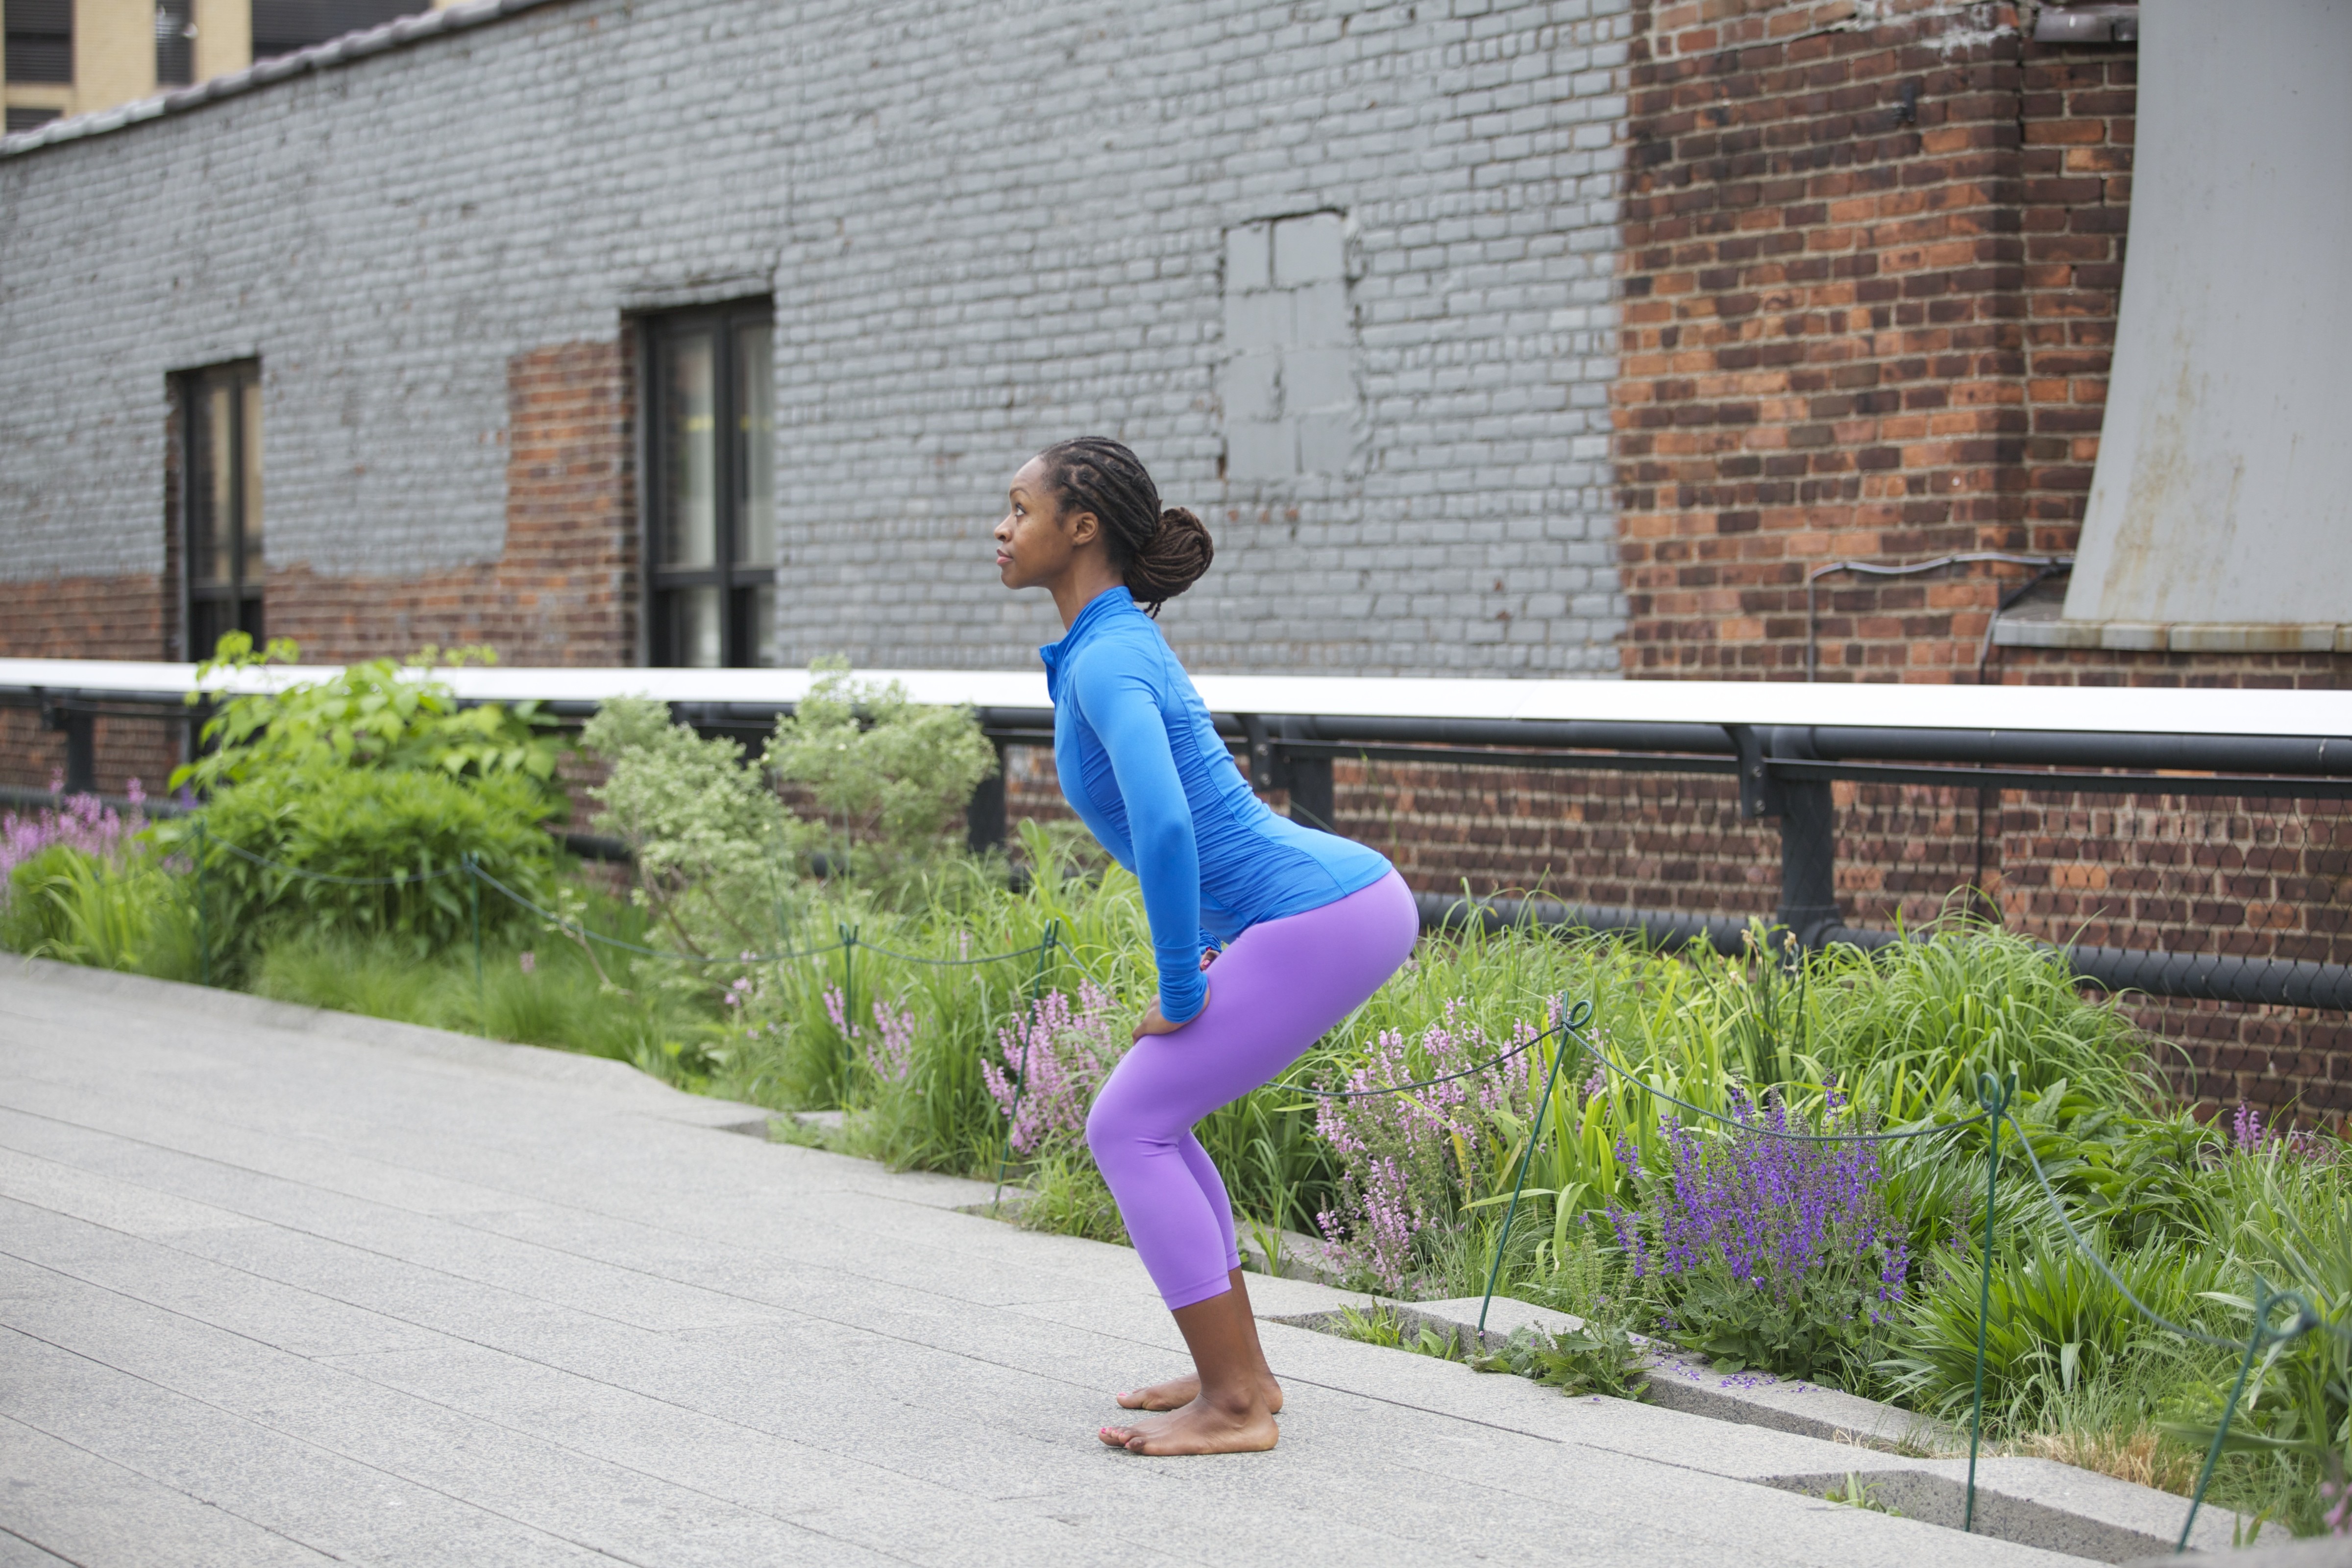
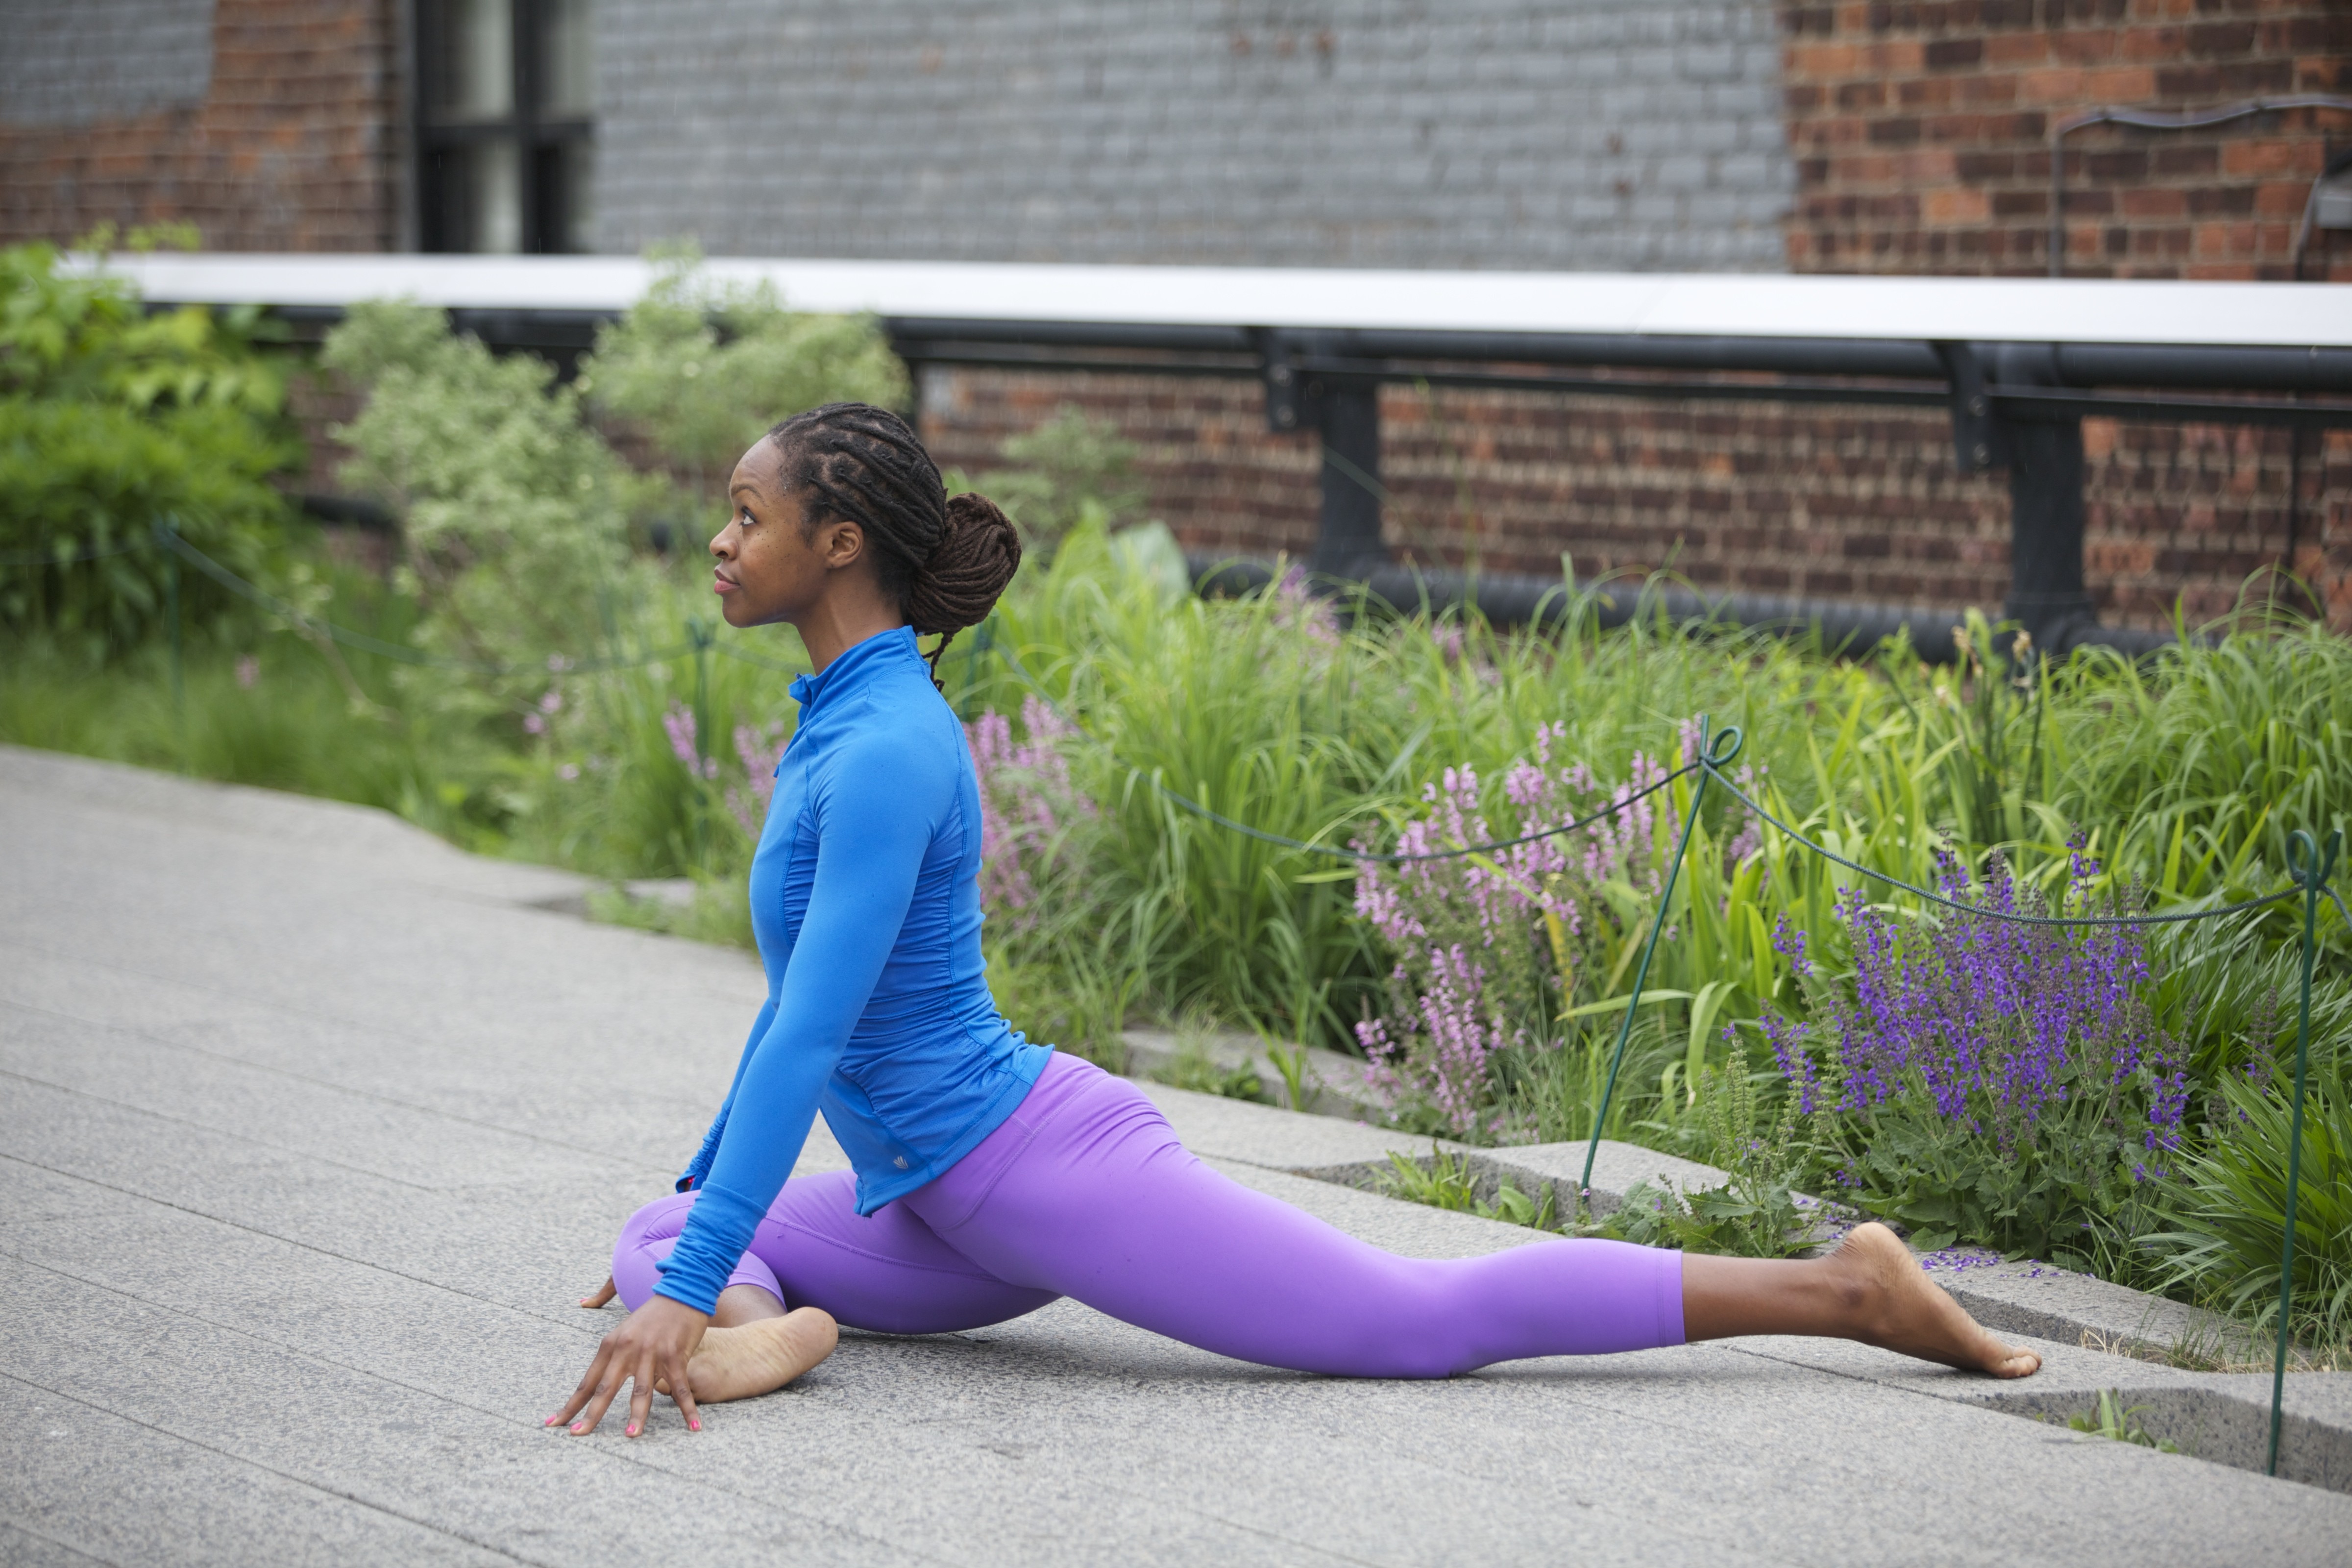
Watch a toddler move and bend over. When they lean over to pick up a toy, they move from core center, hips back, with knees bent and butt and leg muscles working. This is why all babies have cute butts.
Bend your knees, not your spine!
When we lean forward from sitting or standing without bending our knees, we are asking the spine to stretch in ways it is not designed. Any back doctor will tell you to always bend your knees when leaning over. Why does yoga get a hall pass to ignore this basic anatomical rule to bend the knees?
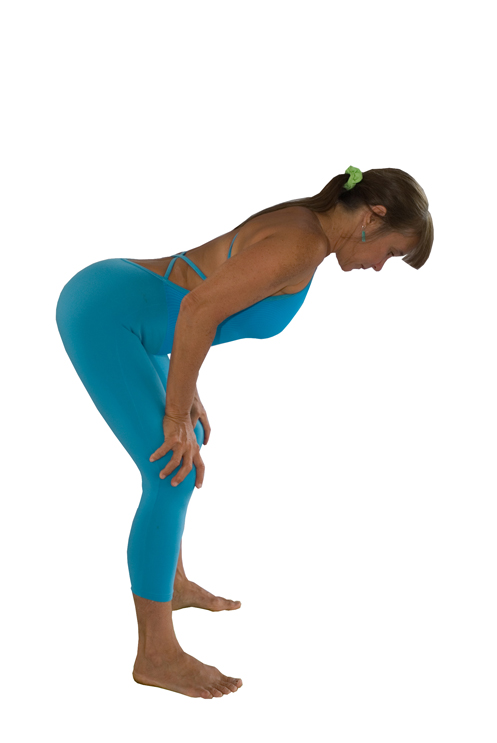
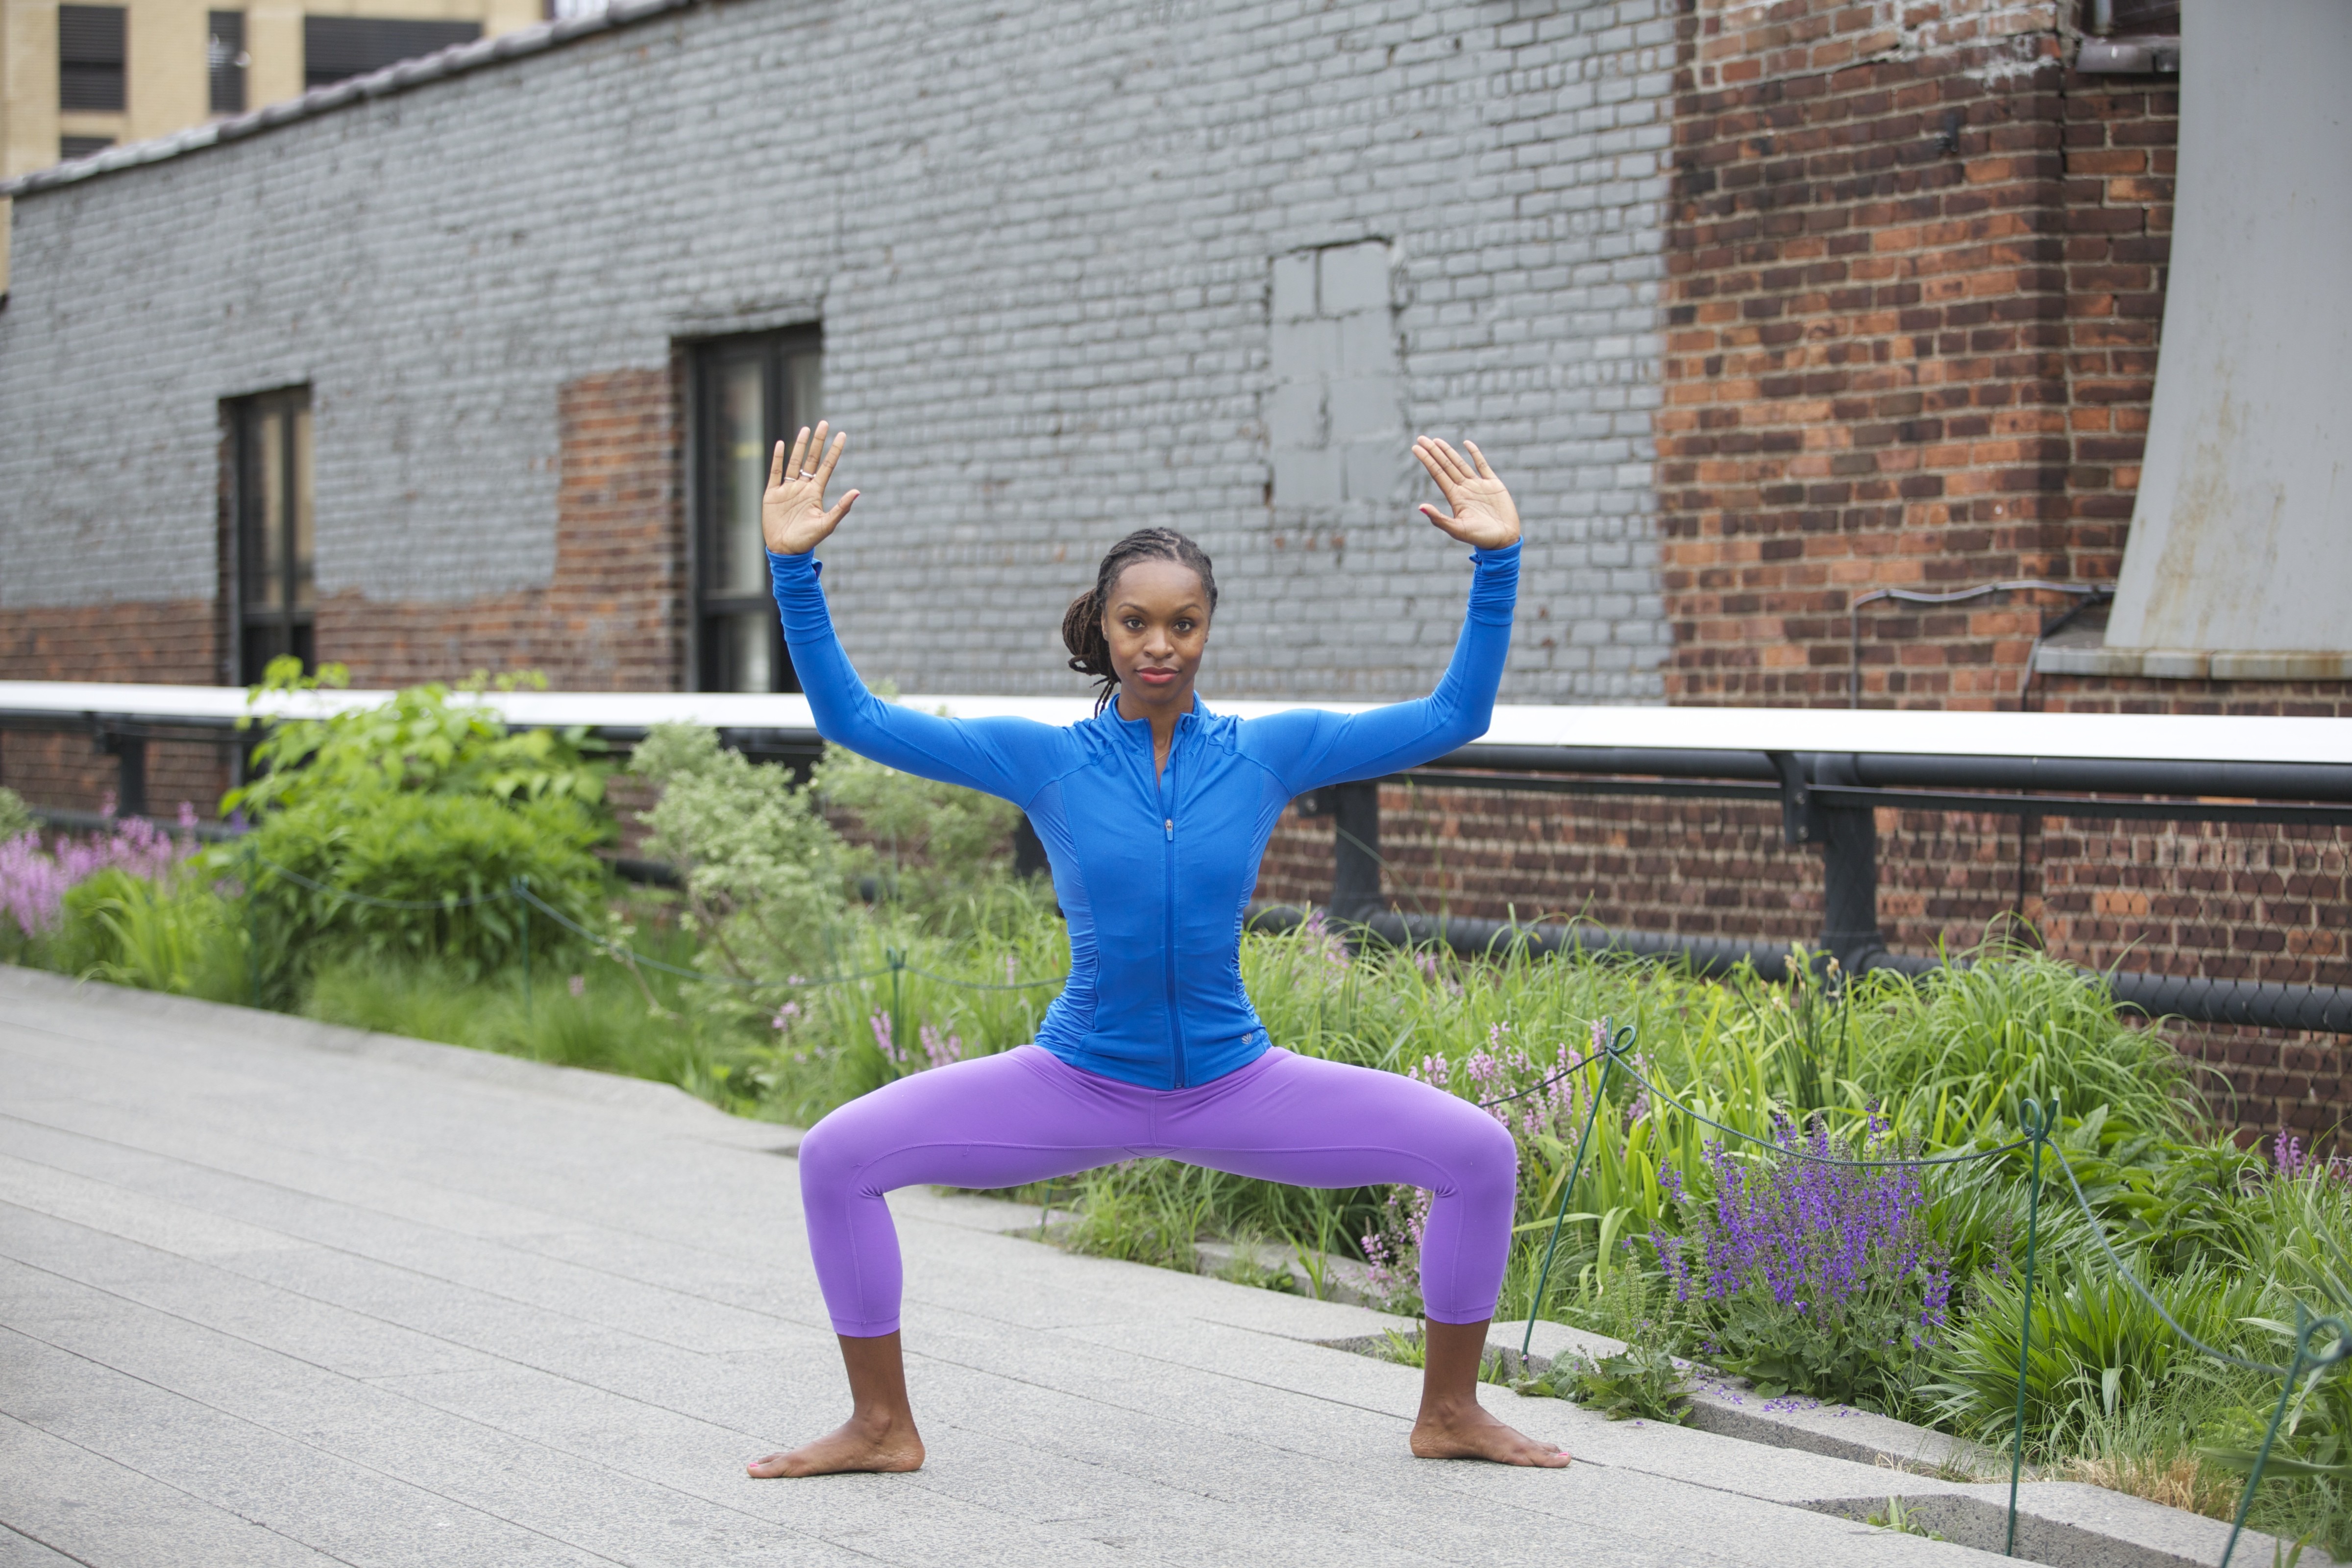
Protect your spine and lower back curves in yoga: Keep your knees deeply bent in all seated and standing forward bends, and stay out of all yoga poses that create a C shape in the spinal column.
Align, don't contort.
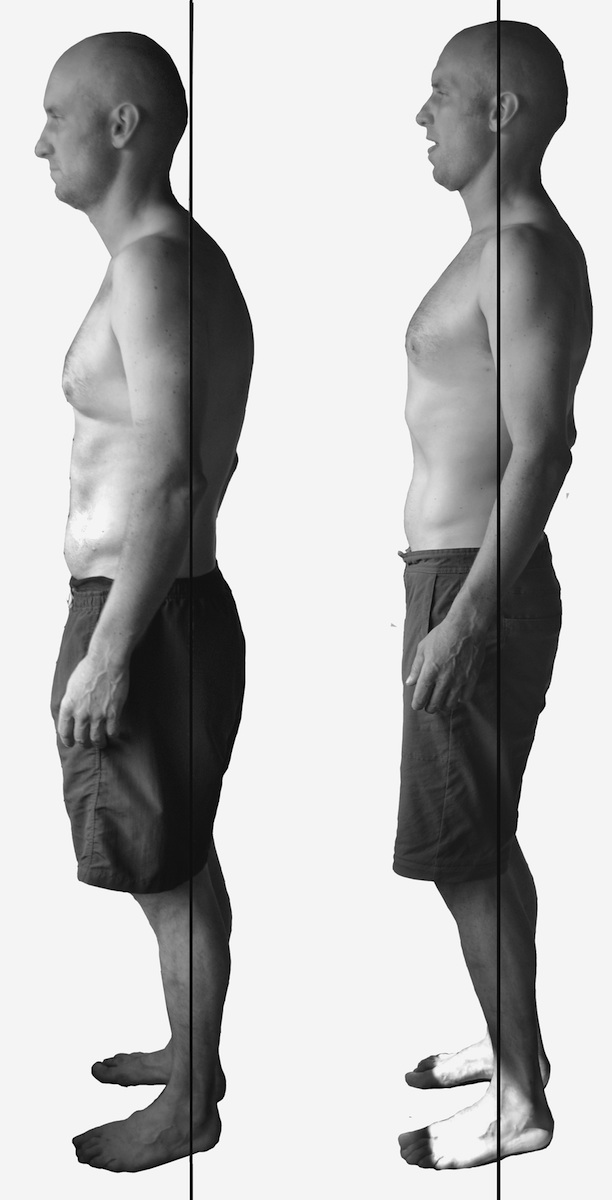
Before and After YogAlign Practice
In order for yoga to evolve and be safe for all, we must use critical thinking, discernment, awareness and simple bio-mechanical common sense.
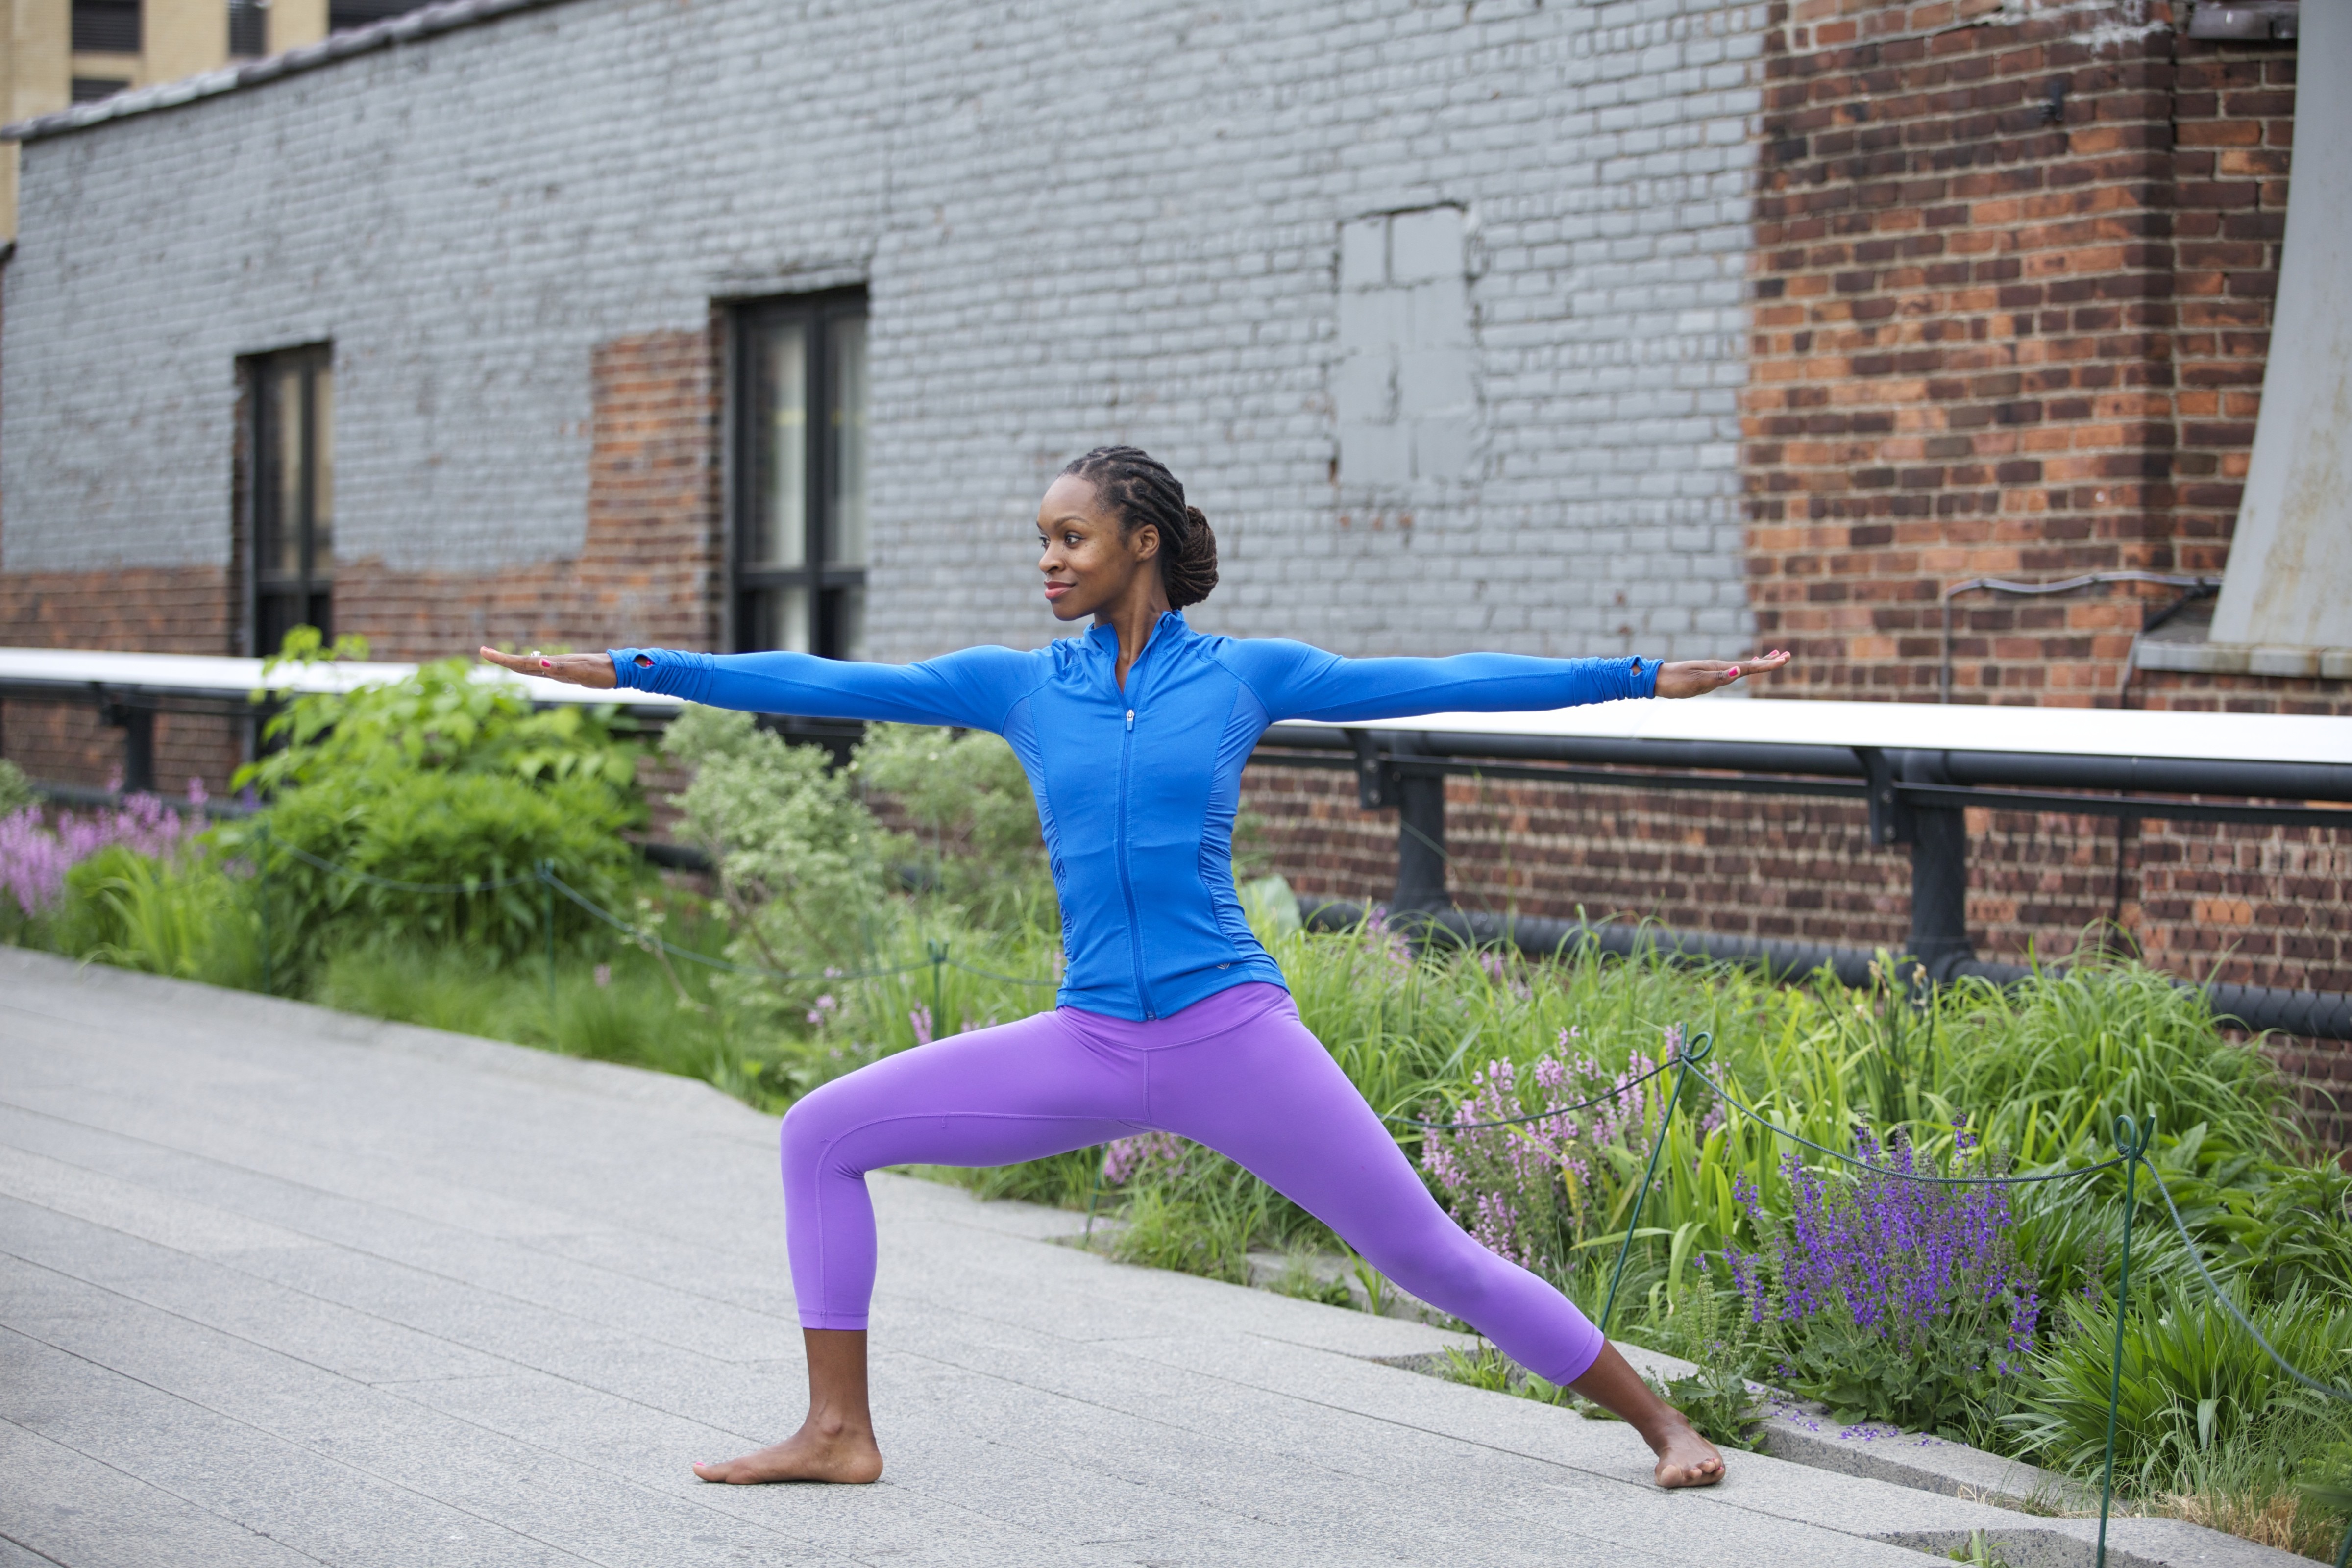
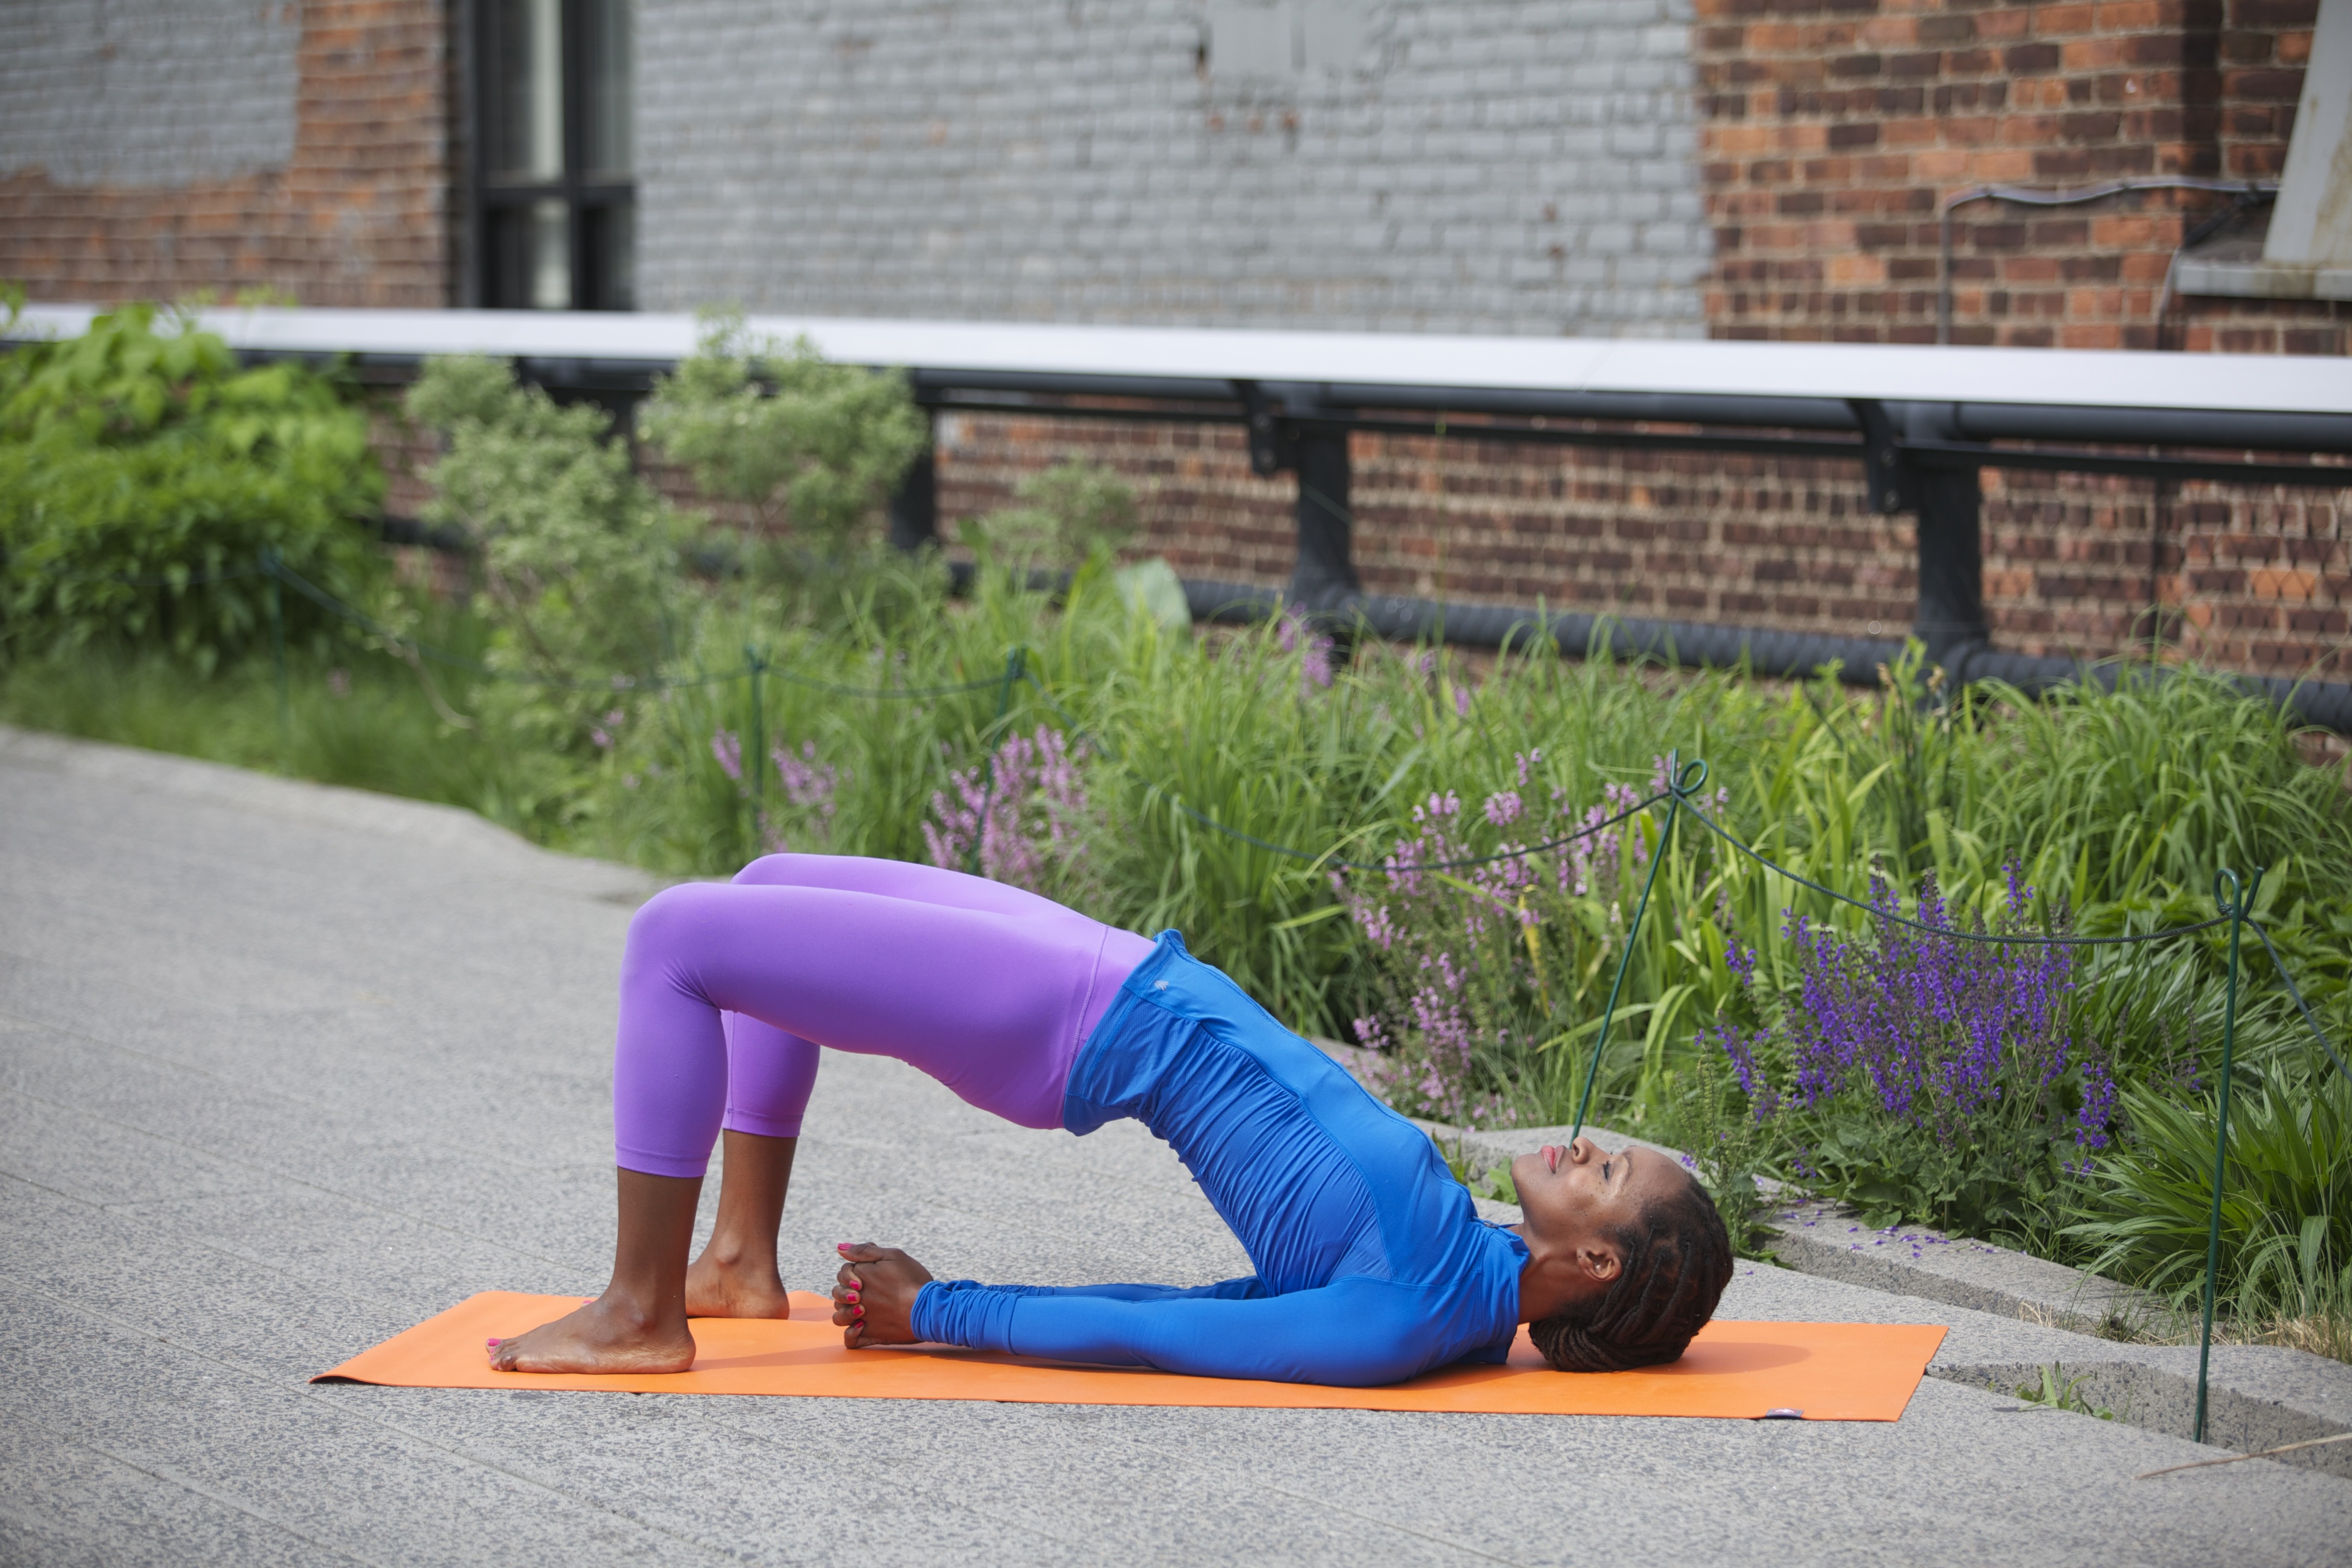
I always remind my students to practice naturally aligned posture as the most important asana. If an asana does not support your spine in good posture, it is quite possibly working to pull your body out of alignment, and what is the benefit of doing it?
Three simple tests to determine whether a pose serves the human design:
1. It should allow the spine to maintain its natural curves.
2. It should not restrict the ability to do deep, rib-cage breathing.
3. It should have a real-life correlation to functional joint movement.
2. It should not restrict the ability to do deep, rib-cage breathing.
3. It should have a real-life correlation to functional joint movement.
Yogis need to take off the avidyas (blinders) and consider the long-range effects of yoga poses on the human body. Is the pose or position going to lead to a favorable outcome adding value to our lives and supporting the ancient wisdom of the yoga sutras?